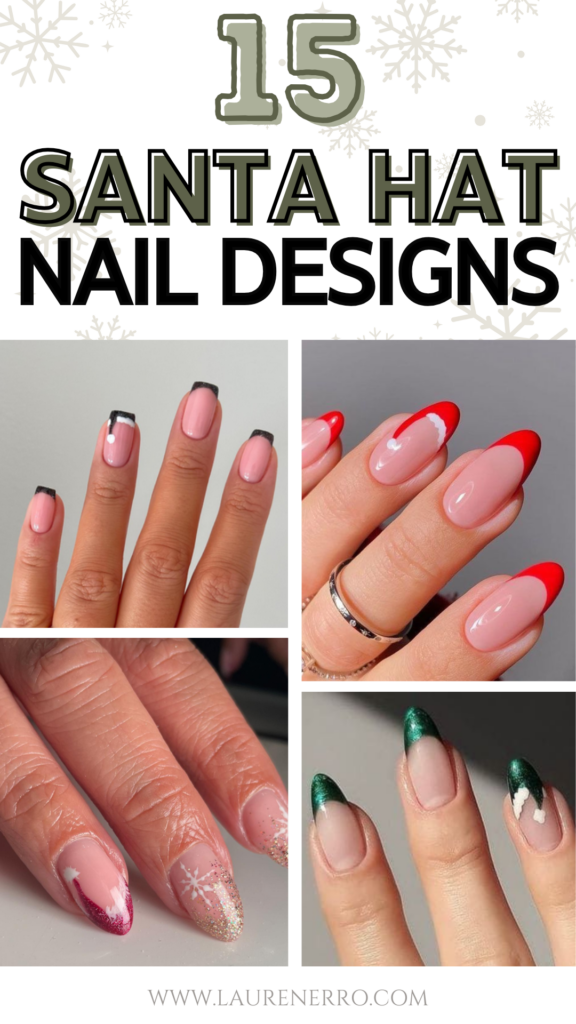
15 Santa Hat Nail Designs
‘Tis the season to sparkle and shine! Get into the holiday spirit with these adorable Santa hat nail designs. From classic red and white to glittery and glamorous, there’s something for everyone. Whether you’re a seasoned nail art pro or a beginner, these ideas will have you creating festive nail art in no time. So grab your nail polish and let’s get creative!
This site contains affiliate links, view the disclosure for more information.
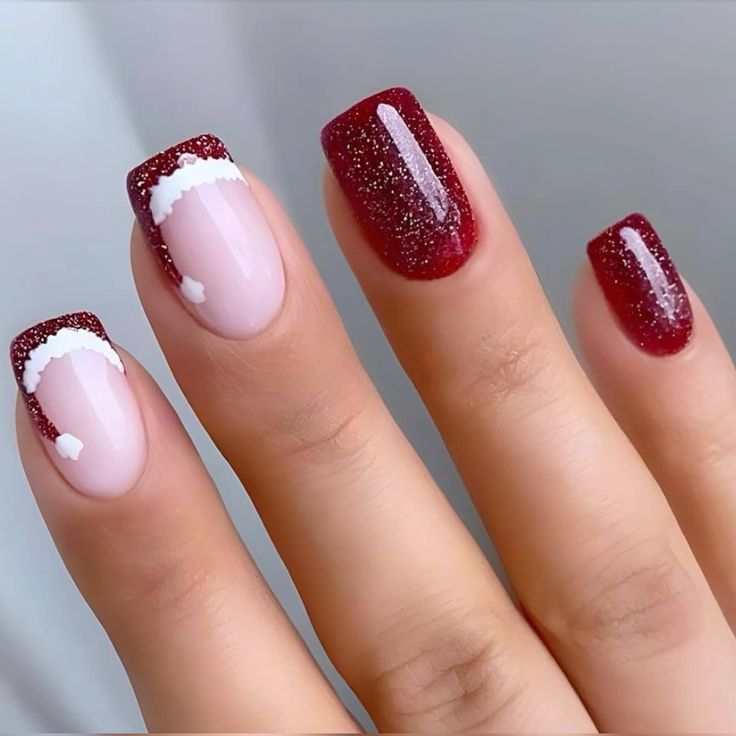
Square Glitter
This is a great simple, fun Santa hat nail look for this season! The shimmery, ruby-red is such a perfect Christmas color.
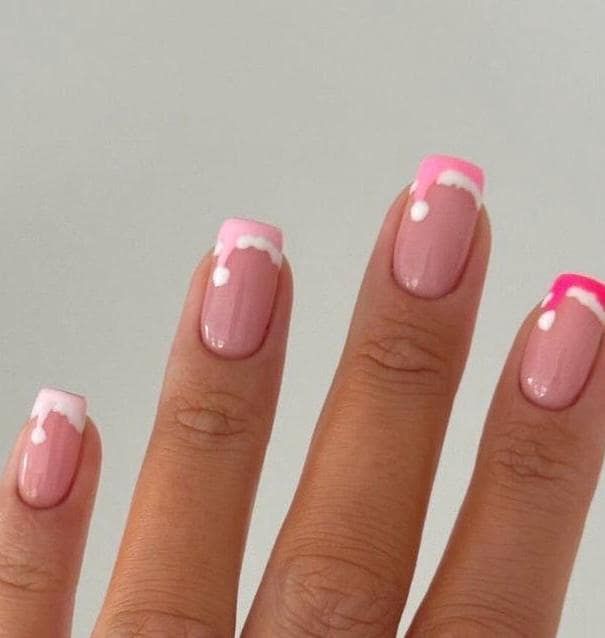
Pink Santa Hats
This is the perfect girly twist on Santa hat nails, using a pink gradient for such a fun effect!
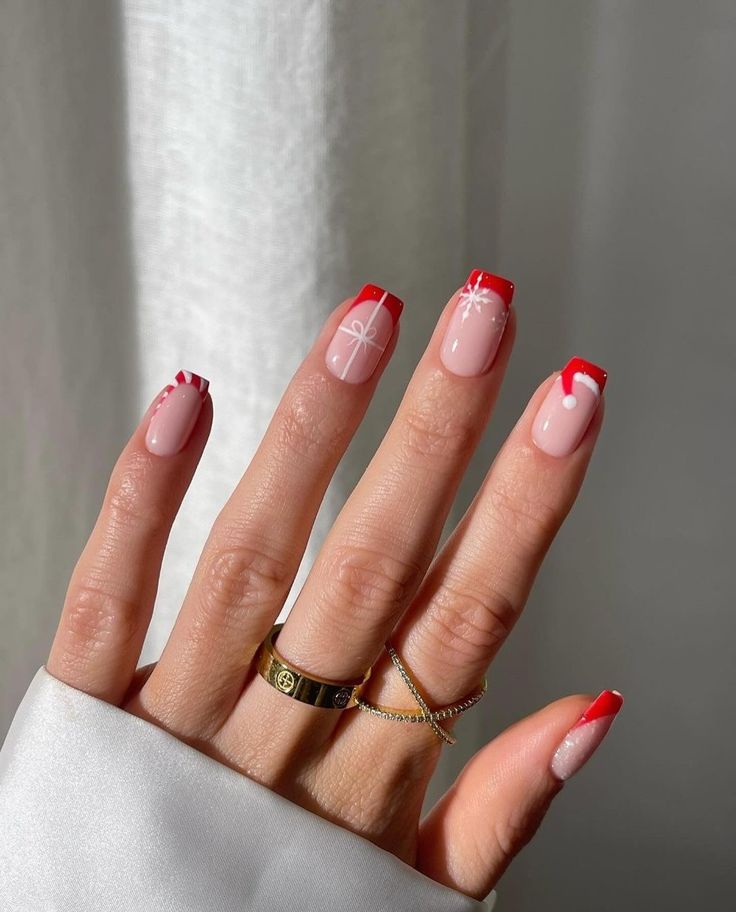
French Tip Graphic Nails
I love all the cute details on this set! From the gift-wrapped bow to the peppermint striped French tip, these nails are the perfect Santa hat design!
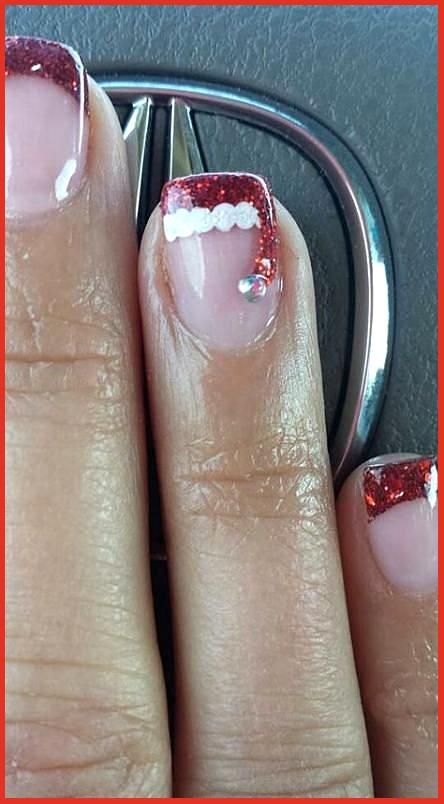
Gemstone Santa Hat Nails
This glittery, square design is so cute and I think it’s so clever to use a gemstone in place of the white cotton ball at the end of the hat!
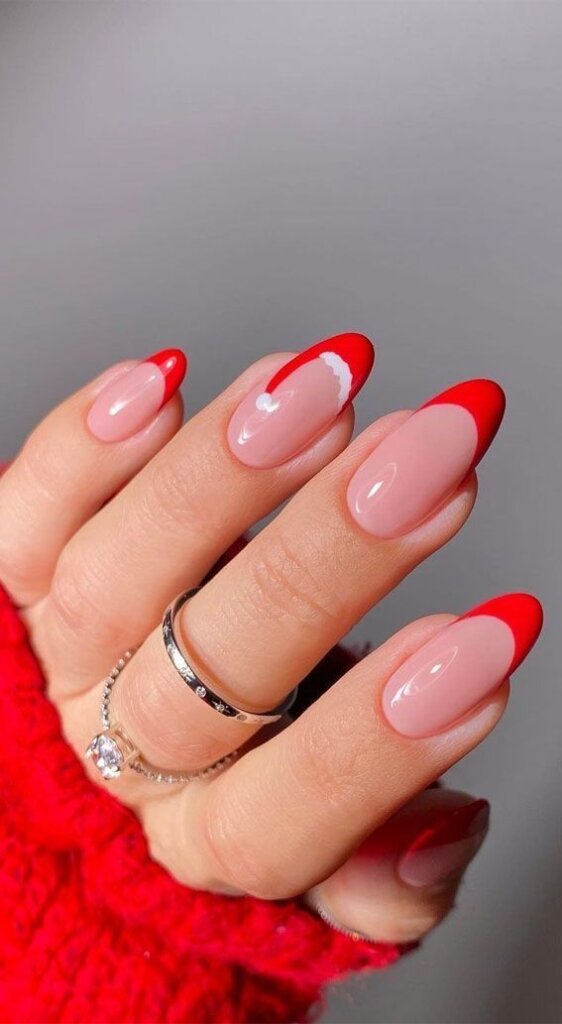
Classic Almond Santa Hat Nails
This is the classic, simple Santa hat nail design; almond, red French tips with a cute Santa hat accent nail!
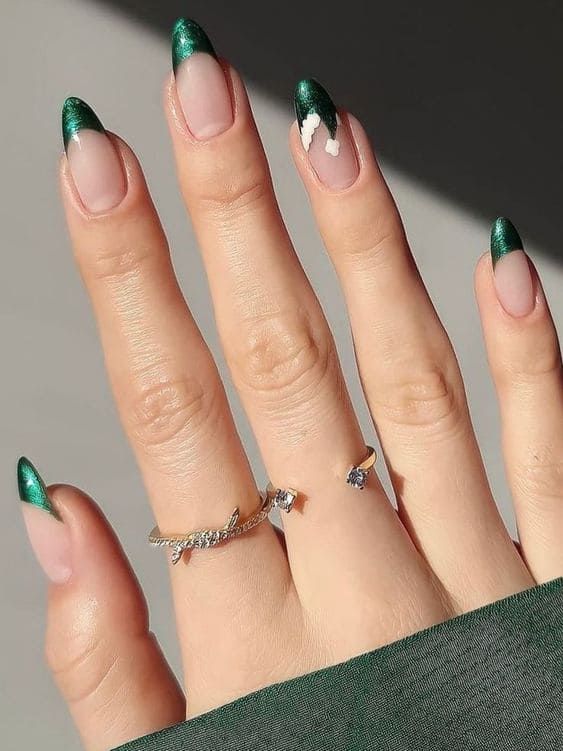
Green Santa Hat Nails
This Christmas-y green is the perfect color to combine with this Santa hat French tip design!
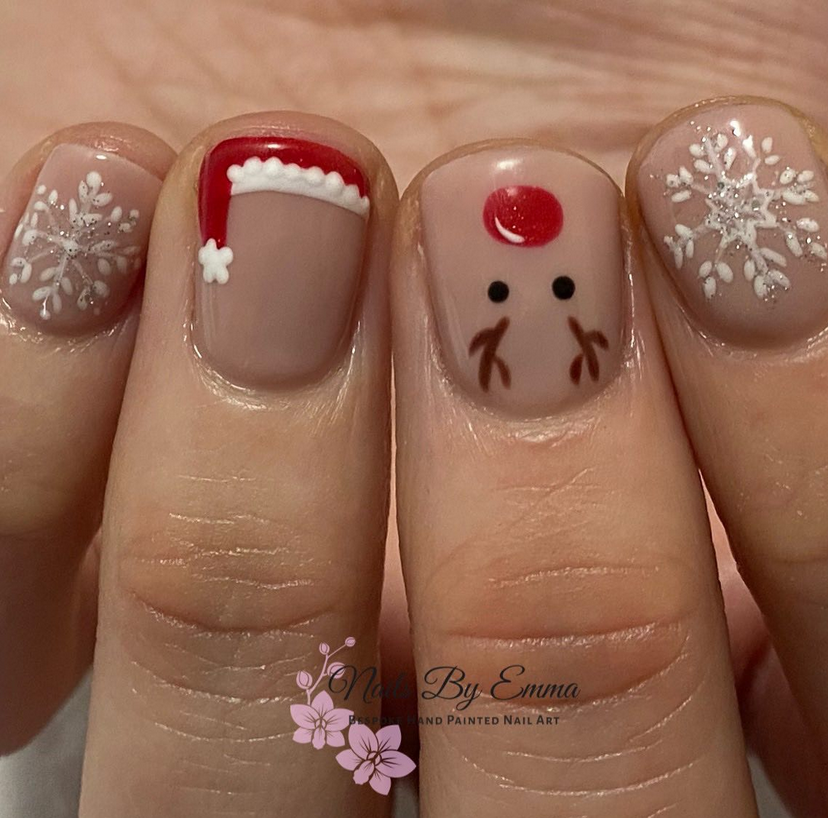
Santa And Reindeer Nails
This is a perfect option for those who like shorter nails! The little reindeer design is so cute and I love the glittery snowflakes!
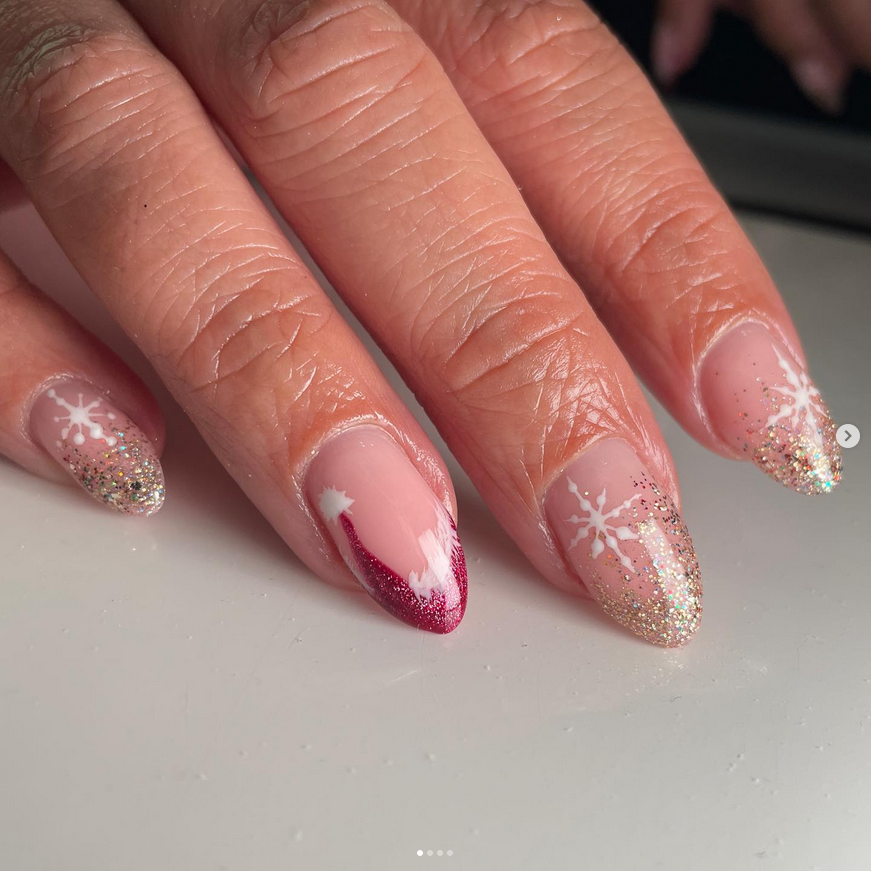
Pink Hat With Gold Glitter
This is one of the best options for girly Santa hat nail designs! From the shimmery pink hat to the gold glitter ombre, these nails are some of the cutest!
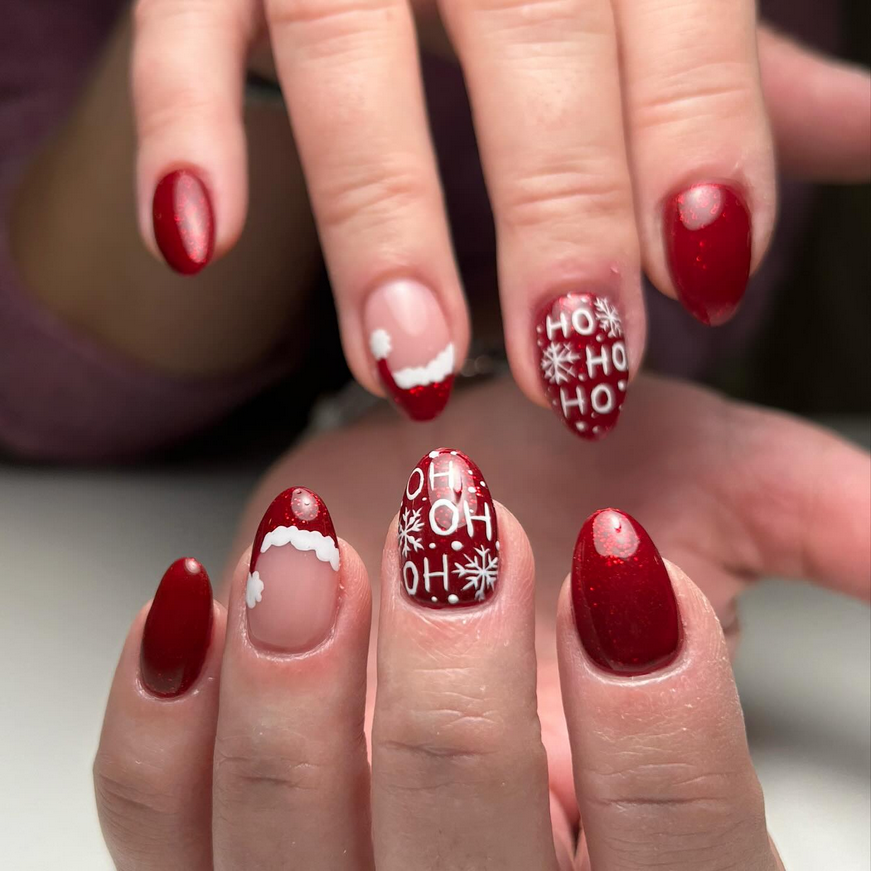
Ho Ho Ho Santa Nails
The ruby-red shimmery color of these nails is to die for and I love the “HO HO HO” accent nail! So fun!
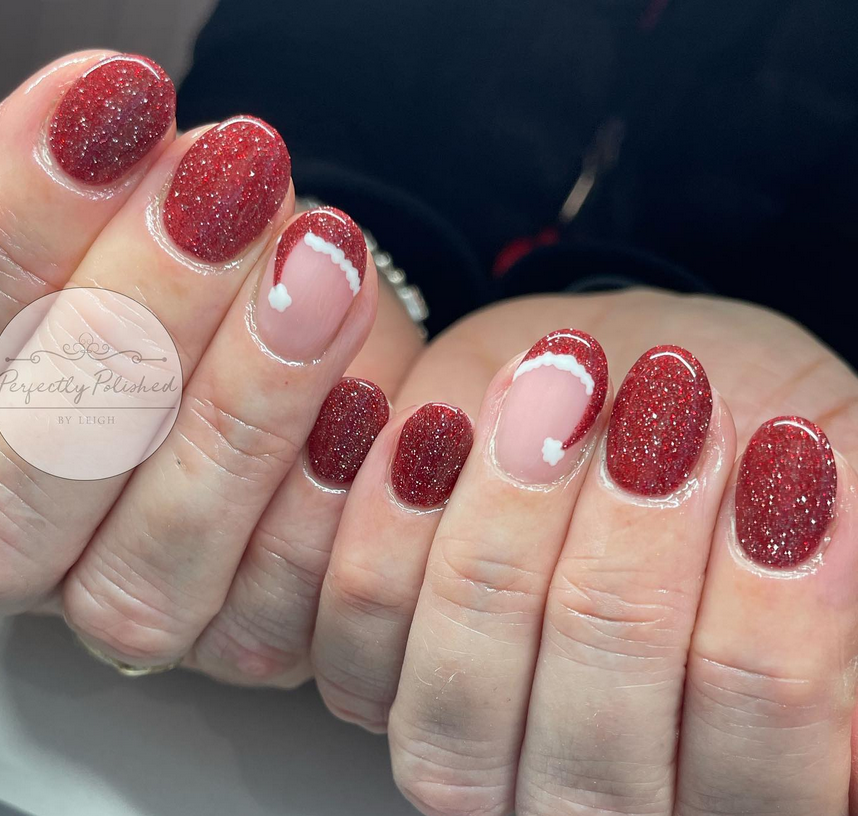
Almond Glittery Simple
The glitter of these nails is so pretty and this shape works so perfectly with the design!
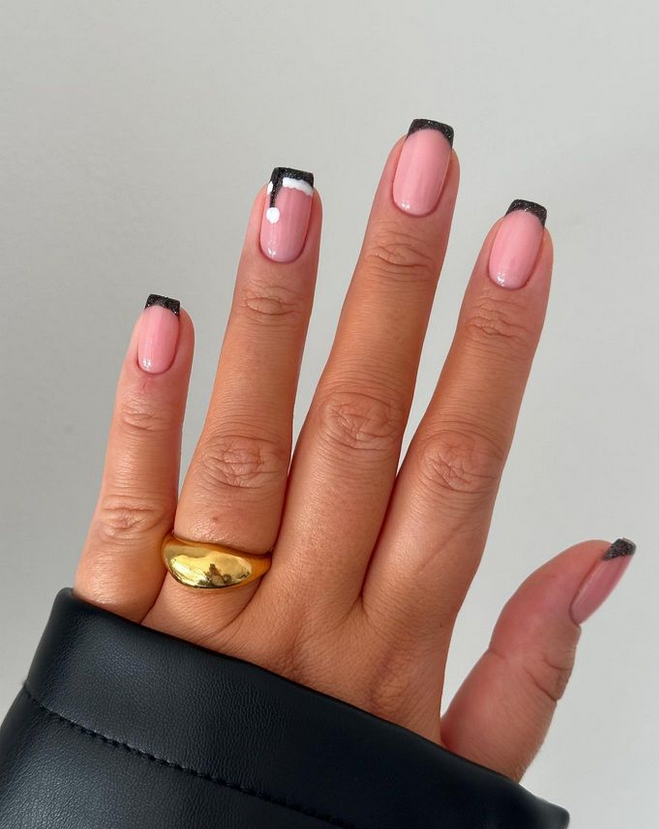
Black Glitter
For a classier take on the Santa hat nail trend, opt for a black with a subtle shimmer! These are so sleek but still so fun!
Peppermint Twist Ornament Nails
I love the ornaments on these nails and I think this is one of the most clever, fun Santa hat nail designs!
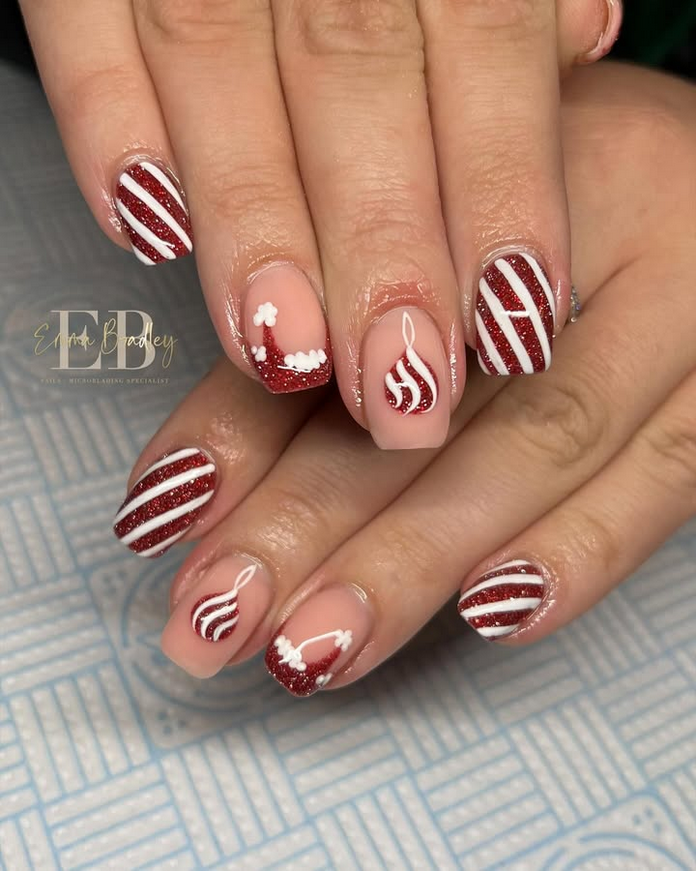
Santa Grinch Nails
For Grinch lovers, go for these Santa hat Grinch-inspired nails!
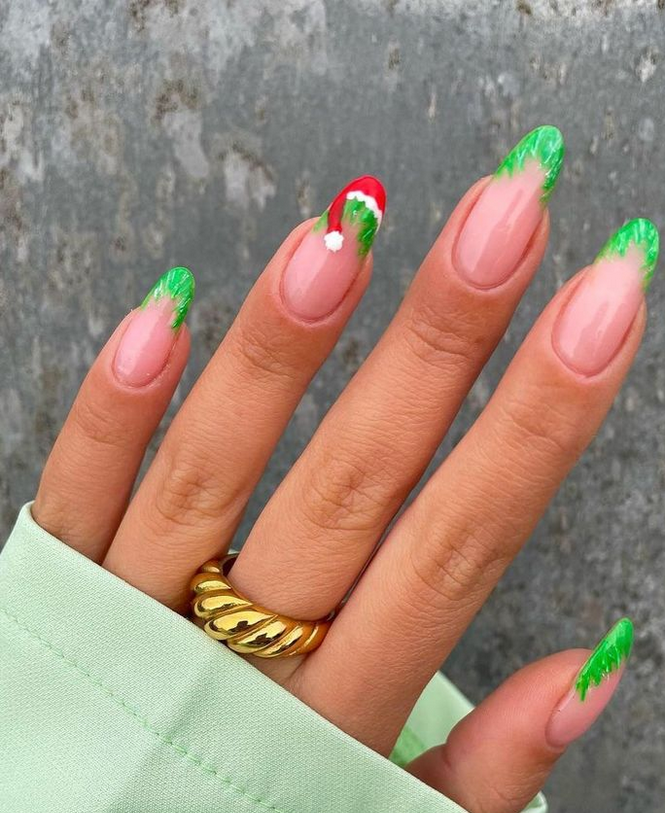
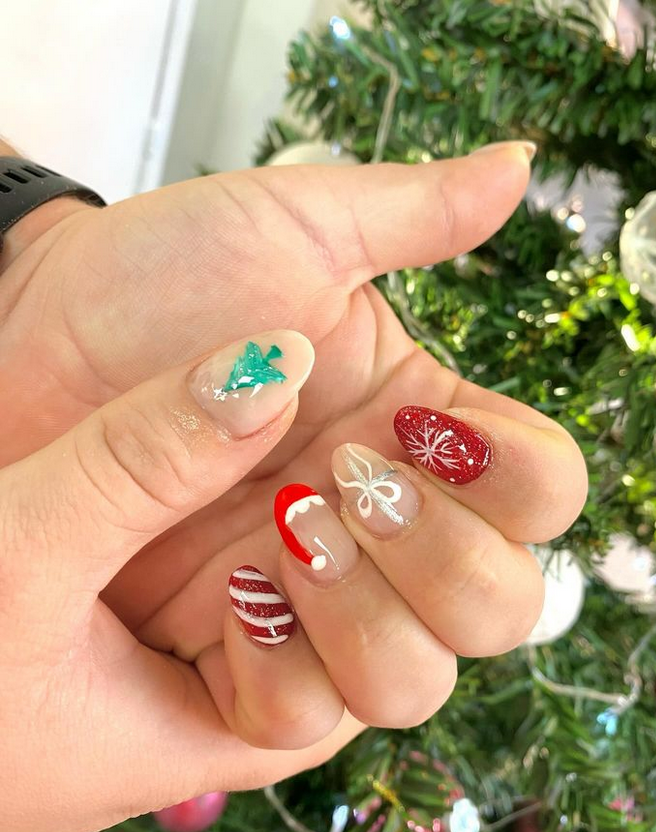
Christmas Tree Red Nails
I love everything going on in this set! From the bow to the adorable little Christmas tree, these nails are so cute for the holiday season!
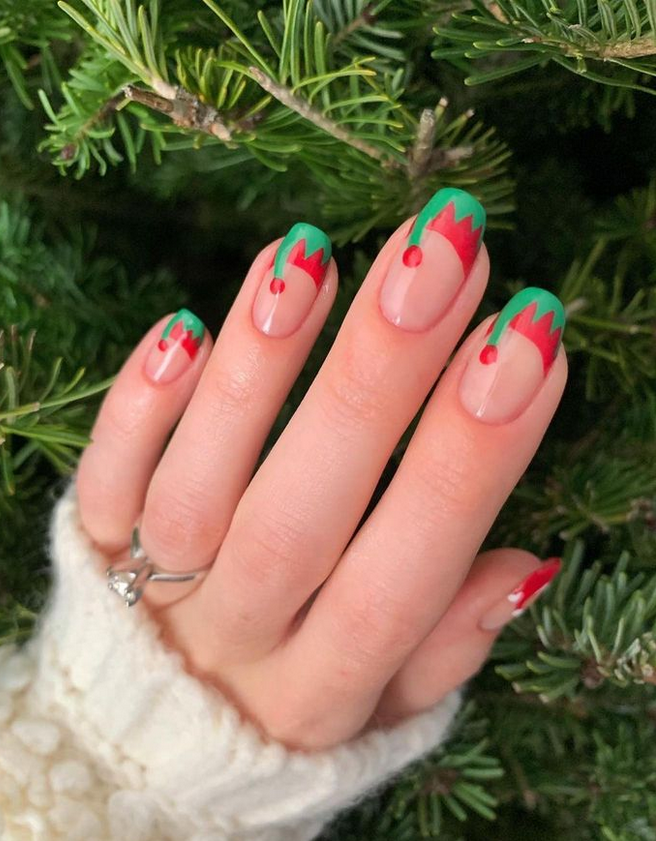
Elf Hat Nails
This is such a clever idea and twist on classic Santa hat nails! This features four elf nails and one Santa hat accent nail!
With these 15 festive nail art ideas, you’re all set to spread holiday cheer with every flick of your wrist. Whether you’re a seasoned nail artist or a beginner, these designs are easy to follow and perfect for any skill level. So, grab your nail polish and let your creativity soar! Happy Holidays!
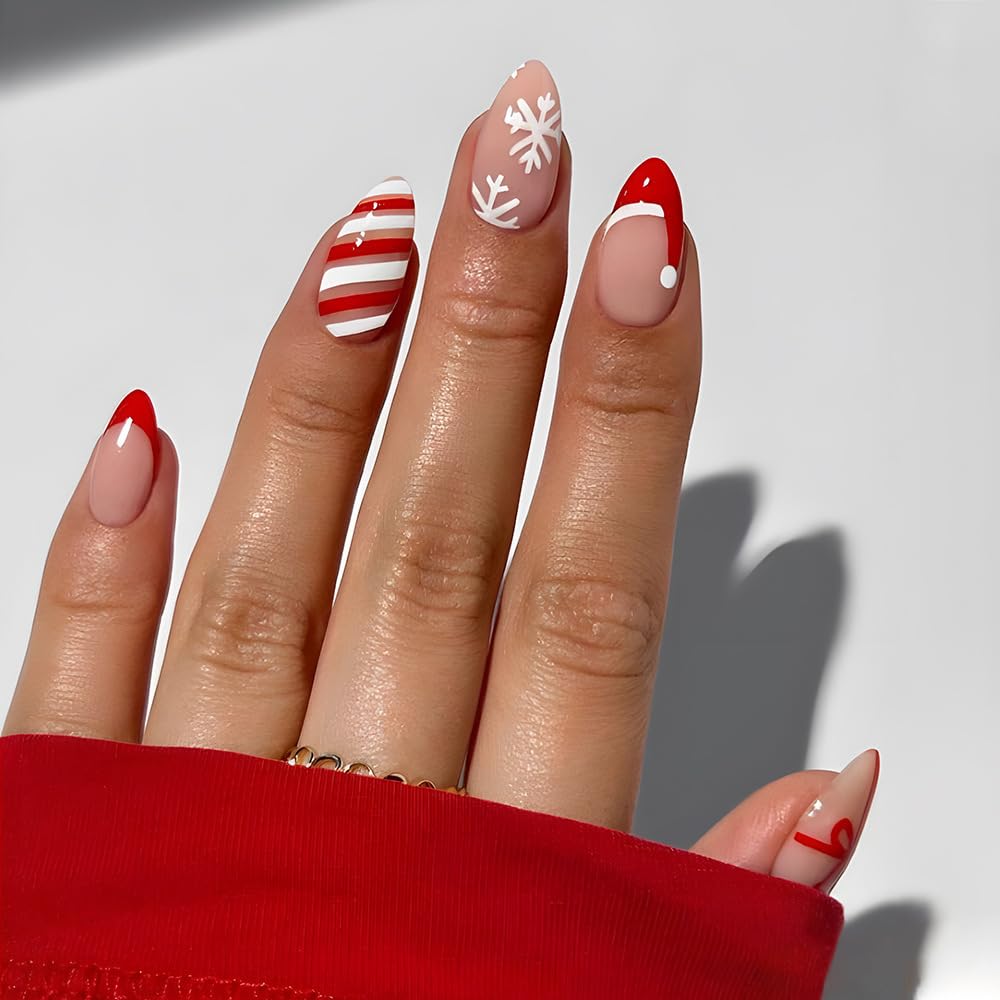
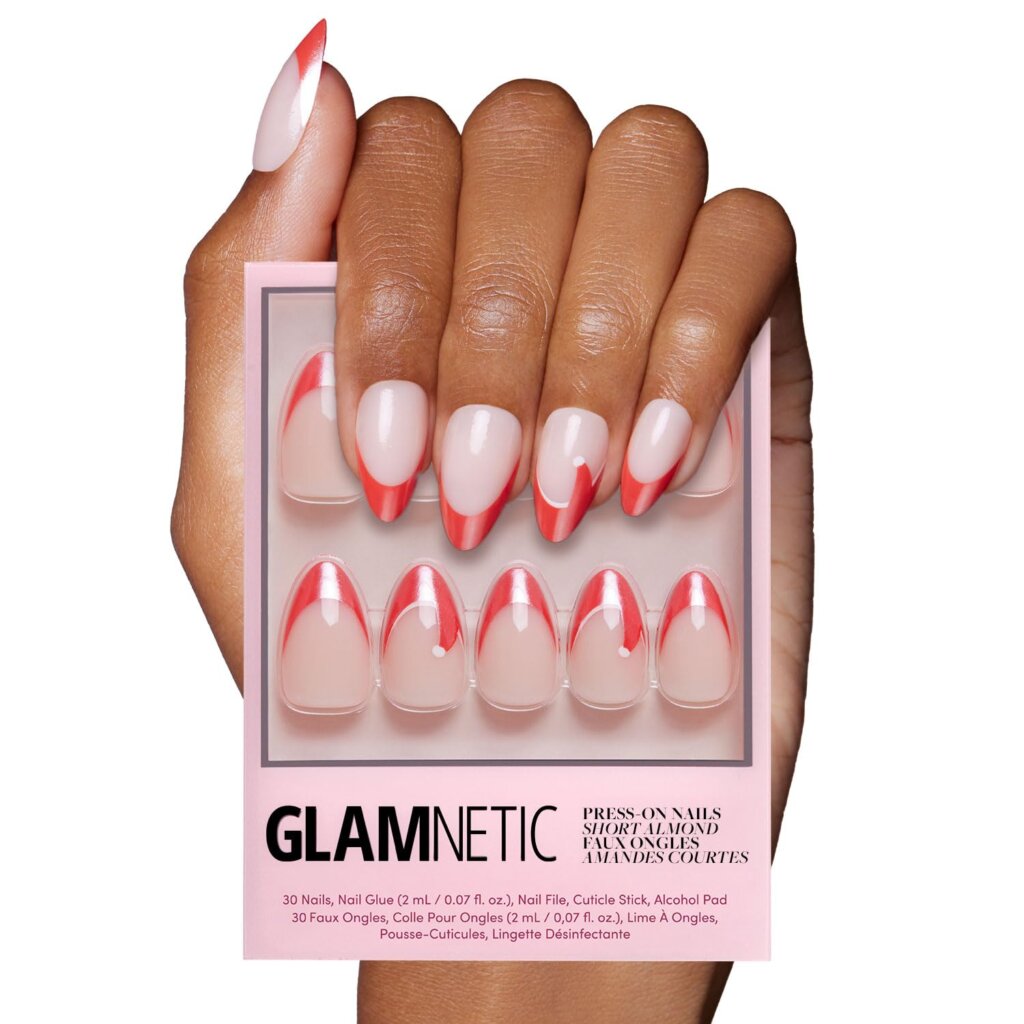
Santa Hat Nail Designs Press-Ons


Santa Hat Manicure Must-Haves
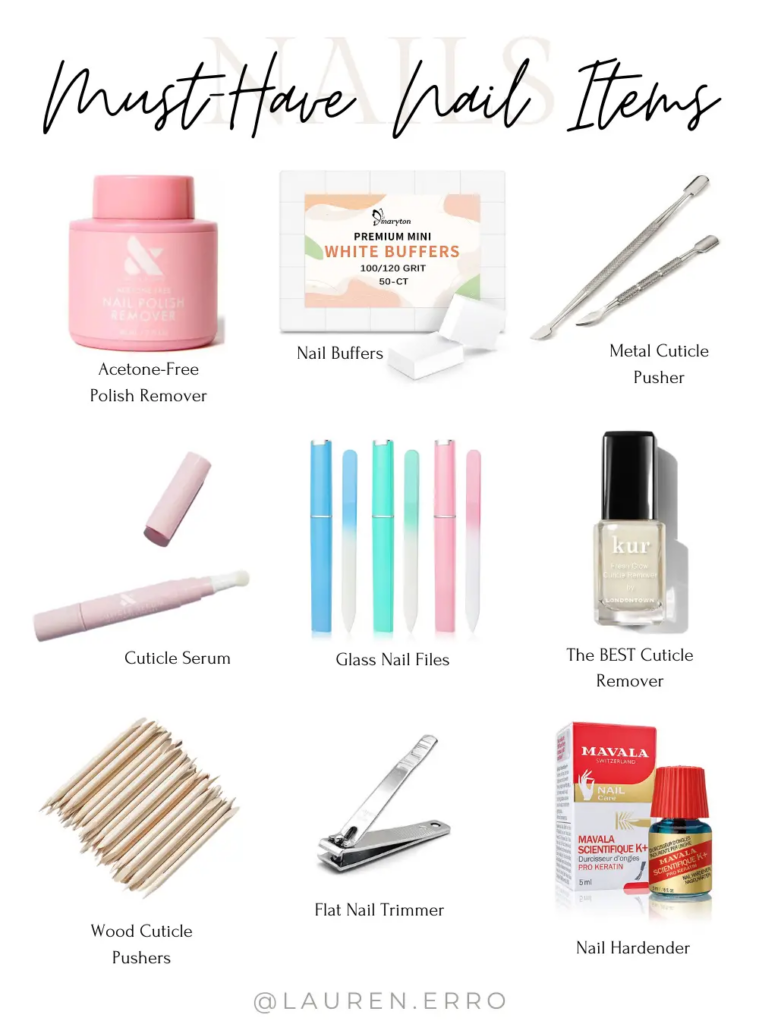
If you are attempting these Santa Hat Nail Designs at home, you may need some tools to get started. Here are the tools and products that I swear by to keep my nails healthy and in great shape. I like to do my manicures at home, and these products do the trick to make my manicures last! Click the picture for the links!
Manicure Tips
Whenever you do your own manicure I always recommend a few steps before you start painting.
5. Apply base coat. Some of the brands below require specific pre-polish steps- I’ll flag them so you are aware.
6. Apply a coat of polish and wait a few minutes for it to dry before applying the next coat. Repeat until you get the coverage you like.
7. Apply top coat and for the best result brush it over the edge of your nail to ensure everything stays as long as possible.
8. Apply cuticle oil or serum as needed. I like to apply it before bed.
Bonus: If you have thin/ weak/ peely nails this nail hardener helps SO MUCH!
I hope you loved this post about 15 Santa Hat Nail Designs!
If you loved this post, you may also like:
xx,
Lauren


