Everything You Need To Know about Static Nails Reusable Pop-On Manicures
I LOVE glue-on & press-on nails. I’ve been using them since 2019 and have no need to sit at the salon for 2 hours ever again. I used to always dread getting my nails done… Will I like the color for 3 weeks? Is the shape right? Are they going to chip or break? Plus, no one enjoys spending $75+ every few weeks… Right? I started wearing press-on nails when I moved to Nashville from San Diego. I did a collaboration with Dashing Diva’s Magic Press-Ons and I was amazed at how well they stayed on! I’m still a big fan of Dashing Diva but once I discovered glue-on nails my life was forever changed. I started with Kiss Brand and I do like them BUT the variety in colors isn’t that great. I kept seeing Static Nails chic marketing and knew I had to try them! It was love at first manicure and I have used them almost exclusively since.
In this post, I’ll explain everything you need to know about Static Nails Reusable Pop-On Manicures. I’ll share what makes them unique, and show you what the application process is like. I linked my first application video as well as my follow-up video with my updated thoughts and all of the tricks I’ve learned since I started using them.
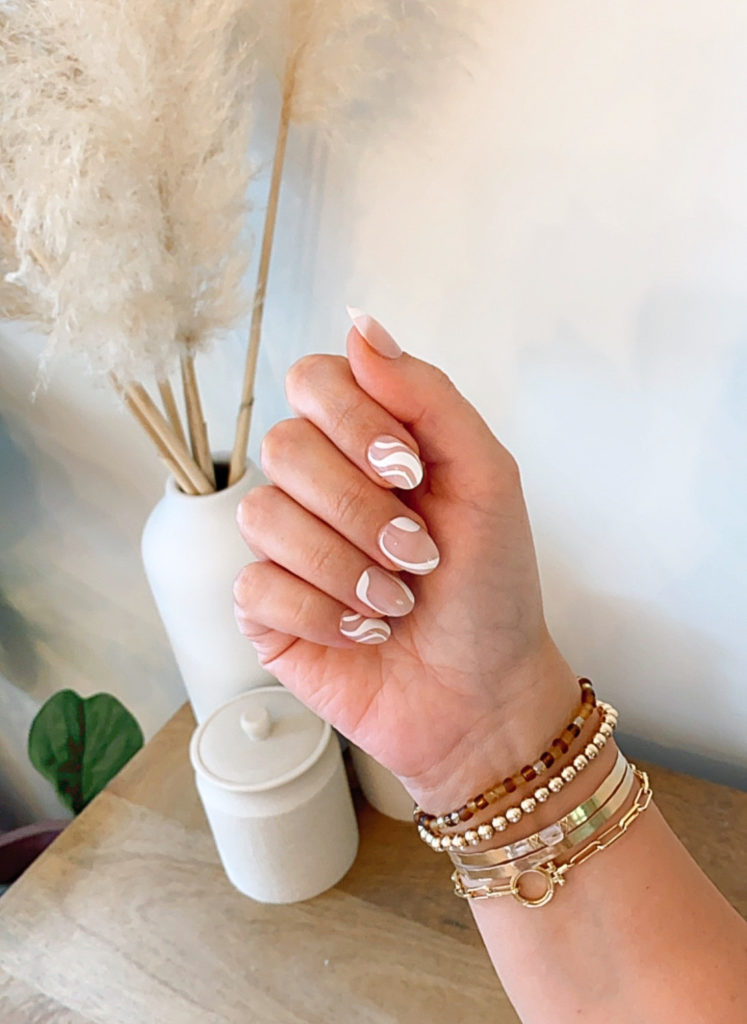
About Static Nails
Static Nails is a female-founded company and was started in 2017 by a 21-year-old model who definitely understood the assignment. She truly changed the glue-on-nail game. Static Nails are just better than the rest. They come pre-shaped and their color range is fantastic! They stay current on the nail trends and are so quick and easy to apply. I’ve even put them on in the car while Steve is driving and on planes!
Static nails range from $14-16 and you can currently purchase them from their website (here is a $5 off coupon) and Ulta.
Why are Static Nails Unique?
Static Nail’s glue is unlike any of the other brands out there because it bonds like acrylic but dissolves as you wear it. The nails can last up to 18 days and there’s no damage or residual glue left over when the nails are removed properly.
Static says their nails will fit everyone from a 13-year-old to a drag queen. They also have a service where if you email a photo of your hand to them they can tell you if their nails will fit on yours. My nail beds are pretty wide and their nails fit me with no issues but for reference, my thumb is usually one of the top two largest sizes. You’d think that all glue-on or press-on nails would fit any female but unfortunately, that’s not the case… Impress Press-on’s just didn’t work for me.
They say you can do everything from garden, change a tire, style your hair, etc. and this is true! I’ve moved and unpacked an entire house and done every daily task you can imagine in mine!
Here is my first application review video:
Static Nail review & some application tips I’ve learned over the last year
- The nails are very durable! They are strong but still thin so they look very natural and they don’t bend easily- I mean if you jam your finger into something they, will but most nails would. They give my naturally thin nails that much-needed strength that I would get from a professional dip or acrylic manicure.
- Application is really easy and I love that they come pre-shaped- it really saves so much time! I would have to file and shape Dashing Diva & the square-shaped Kiss Glue-ons and I found that by constantly filing my nails every week I was getting really bad hangnails! That doesn’t happen with Static nails- even when I reshape them! It has also been really helpful that Static recommends using cuticle oil. I stayed away from oils before because I thought it would weaken the adhesive but since I started using oil my nails look so much healthier!
- I generally get 10 days out of a set. One or two may come off before but I just glue them back on. Very rarely do the nails pop off. When they have popped off it usually happens when I’m doing something very hard on my nails like pulling on super tight leggings or using my nail to peel an orange. For the most part, they usually start lifting on one side or near the cuticle and you’ll feel it tug on your hair- similar to gel nail polish. Just peel it off and glue it back on.
- The color does tend to peel on the tip after 7 days. If you’re using a set that has a design it may affect its appearance but you can barely notice it on the matte or glossy nails. For that reason, I don’t reuse mine… but the nails are still usually in decent shape when you remove them. You could definitely reuse them if you don’t mind that they’re a little worn out. Static nails are actually very durable! In the year I’ve been using them I’ve only had one split down the middle and I truly think that was just a bad set. None of the others have even come close to doing that.
- Another benefit to static nails is that they don’t get stained from my purple shampoo! When I used to get gel polish it would always change colors before my next nail appointment. Static Nails don’t fade.
- If you want to get the longest wear out of the nails it helps if you buff your nails down before applying them. Each set comes with a buffing tool. Also, don’t waste your money on the brush on glue. I tried a Kiss one from Dollar General that worked so well! Unfortunately, Static’s didn’t.
- One of Static’s tips to help the nails last longer just doesn’t work for me. They say to use a pea-sized amount of glue on each nail… Whenever I try this the glue just squeezes out the sides. It can ruin your nails and get all over your skin. I’ve learned to have a paper towel handy whenever I apply a new set and if glue squeezes out from underneath wipe it towards your skin, not on the side of the nail. If you get glue on the nail use acetone and a cotton ball to quickly wipe it off. Also heads up the glue dries fast and you can easily glue your fingers together so be aware of that!
- If the nails are clear or a sheer color I usually see the glue broken up underneath. Even if I squeeze glue over my whole nail, I think my nail beds just aren’t the ideal shape for glue-ons. I’ve learned which nail colors work better, and if I press the nails down enough the gaps are hard to see. This isn’t just a Static Nail thing- this happens with all press and glue on brands as well. One thing I really like about Static Nails’s website is that you can select what type of coverage you want on the left side menu which saves you some research time! I usually opt for full coverage, unless it’s one of their cool designs- then I just know I’ll likely have the bubbles underneath.
Below is my updated review of Static Nails with even more tips for you!
Shaping Your Own Static Nails
This year the almond nail shape has really come into style and on the Static Nails website, the almond shape is considered medium length but it’s way too long for my nail beds. I usually purchase the round shape, glue them on, then shape the sides to look more almond.
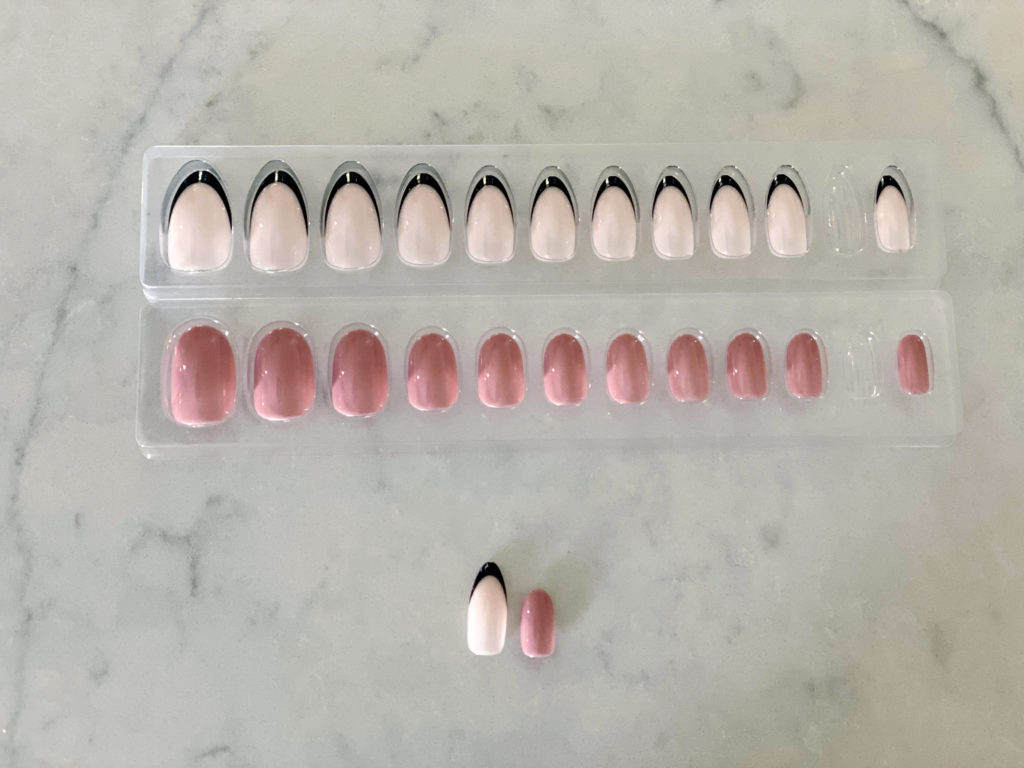
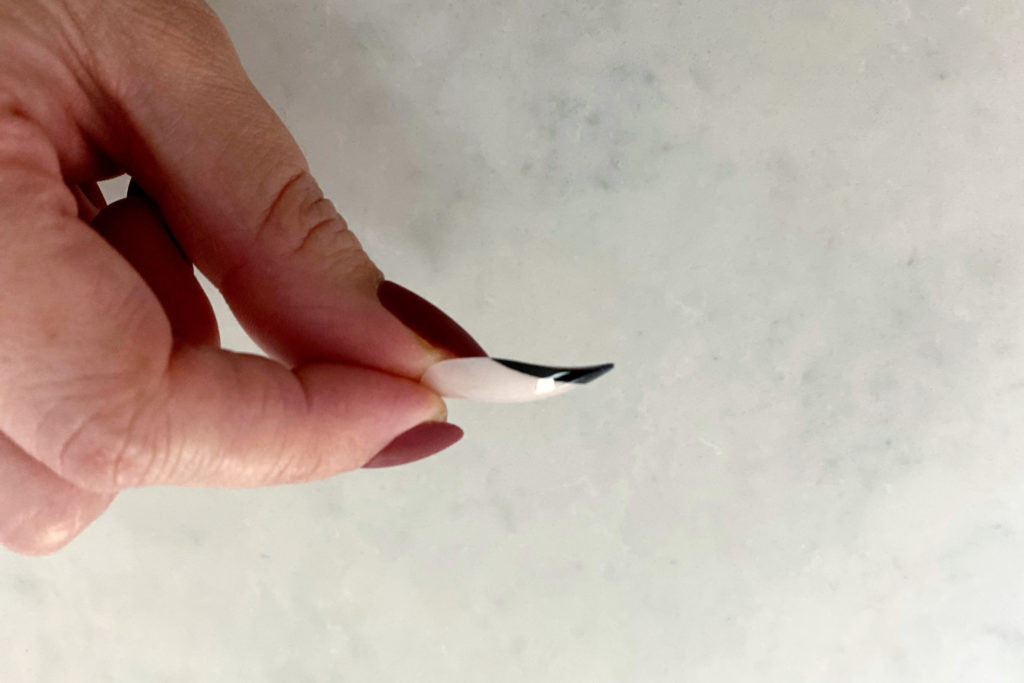
Many of the sets with a fun design come in almond shape so I’ll purchase that length and spend a lot of time filing and prepping them before I apply them. This tool makes it so much faster! If the design is near the tip of the nail I file down the backside until I am comfortable with the length and am certain it’s rounded enough for my nail beds. I usually also file the tips a little because they can be sharp and they curl down instead of going straight out the way the round nails do. They aren’t quite as comfortable for that reason. I’ve also learned that I need to cut my nails very short and taper in the edges if I’m going to apply an almond set because my nails will stick out of the sides of the nail.
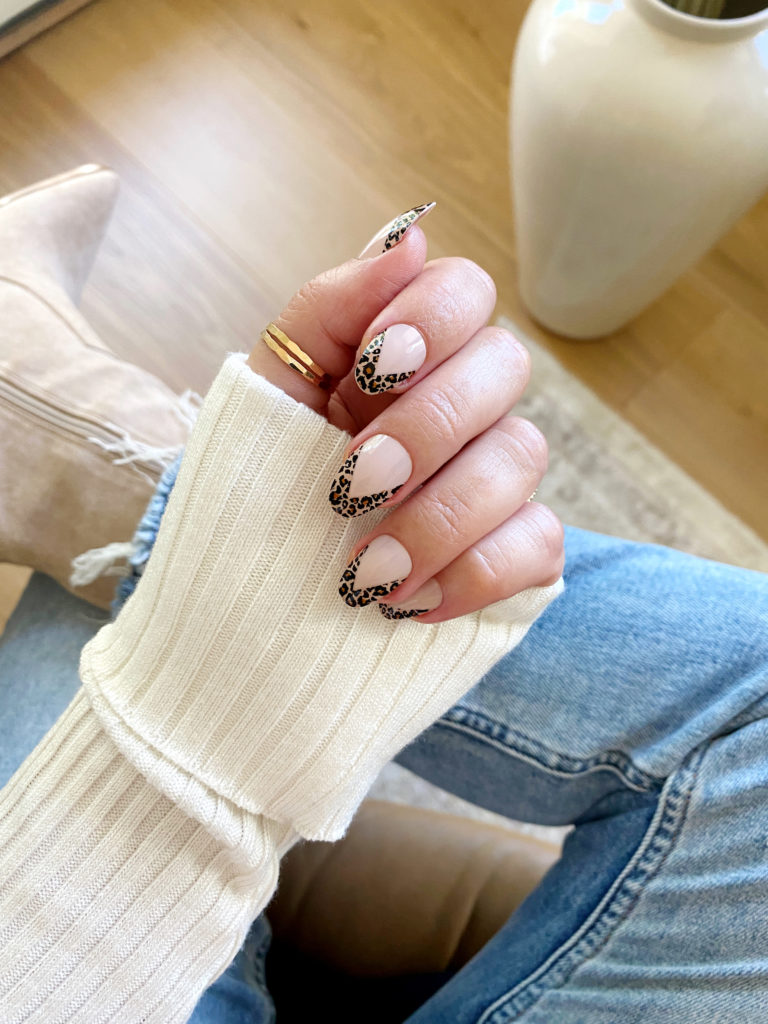
Applying Static Nail Pop On Manicures
Each kit comes with:
-24 nails in a variety of sizes
-Non- damaging nail glue
-Nail file
-Nail buffer
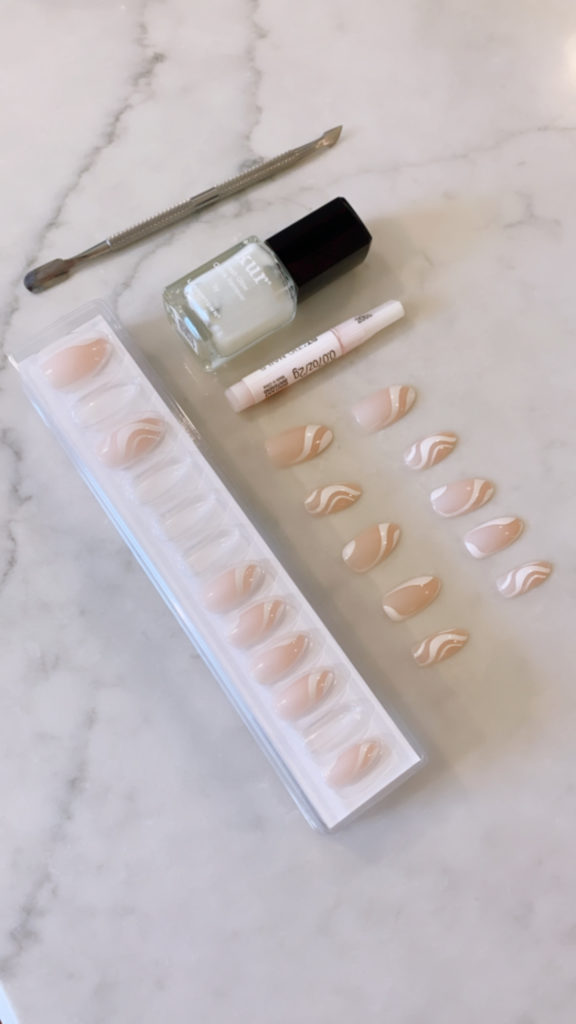
How to Apply Static Nail Pop On Manicures:
1. Select the correct sizes by aligning the Static Nail with the sides of your natural nail. If the Static nail is too small some of your natural nail will show. Choosing a smaller size is fine as long as it’s comfortable. If the Static Nail is too big it will go past the sides of your natural nail bed- this may feel uncomfortable so I recommend going smaller than bigger. If you must go bigger, just file the sides a little before you glue them on.
2. I always prep my nails by pushing my cuticles back (this cuticle serum is a miracle in a jar), trimming my natural nails, and wiping with acetone to ensure my nails are clean and dry.
3. Apply glue to the back of the Static Nails and to your natural nail and let it dry for a few seconds then apply the nail.
4. Align the Static nail slightly under your cuticle at about 45-degree angle. Using your thumb, press the Static nail down very firmly. The more pressure the better. Ensure pressure is being applied to the entire nail. Hold for 25 seconds, the longer the better.
5. If glue pushes out of the sides of the nail, wipe with a paper towel away from the nail and towards your skin (it’s easier to remove this way). If you do get any glue on the nail it will make it look matte and/or feel bumpy- grab a cotton ball with acetone and wipe the nail down quickly.
6. If you want to reshape the nail now is the time. I use this machine and finish off with a glass nail file for smoothing the edges.
*If you are using one of the nails with a design on the tip file down the cuticle side to your desired length before you glue them on. That’s what I did with this set and it worked very well!
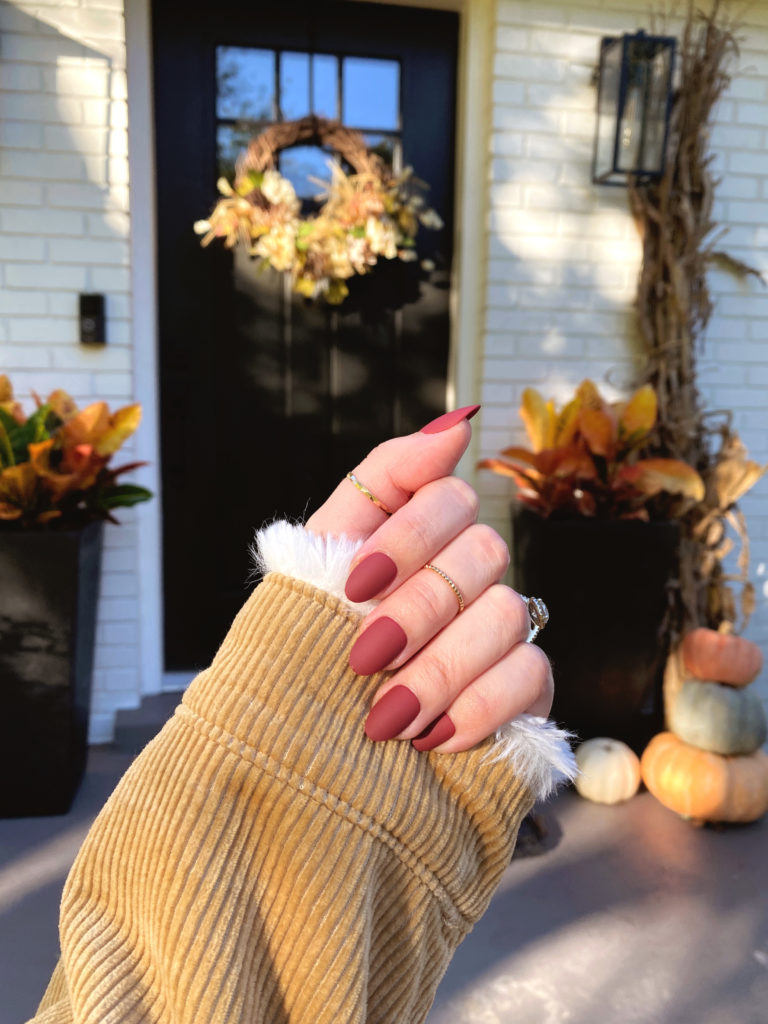
Troubleshooting- If you’re having a hard time keeping your Static Nails on
- If you have more oily nail beds, gently buff your nail and swipe a little nail polish remover to each nail before applying to generate extra grip.
- Add more glue. Add a dot to each nail (more on the thumb), and a tiny bit to the back of the Static nail. Let tack up for 6 seconds before applying.
- The longer and harder you hold the better. Hold down each nail with your thumb, ensuring it’s covering the ENTIRE surface of your nail. If an area doesn’t receive pressure, air pockets will form causing the nail to come off early or inconsistently. Hold for 30+ seconds.
If your Static Nails keep popping off: If nails are coming off before others it is because the glue application to each nail was not consistent. Simply add more glue to your natural nail, a bit to the back of the Static nail then re-apply.
Removing Static Nails
I was actually terrified to remove my first Static Nail set. They make it seem like if you take them off too soon you’re going to wreck your nails but it’s really not bad at all! I usually just pull them off once one or two start to loosen. It always happens at the cuticle end or side first and it makes it easy to lift off. If you’re struggling to remove them soak them in the hottest water that you can stand and gently lift each side of the nail until they popped off. The longer you wear the nails, the easier it is to remove them, especially if you’ve applied the right amount of glue. I love the fact that you don’t need to go to the salon and have them removed or use any kind of foil or acetone that you would when removing gel nails, the whole process is so much more enjoyable for me.
*They really emphasize they you shouldn’t remove them prematurely- they say to wait at least 4 days before you take them off.
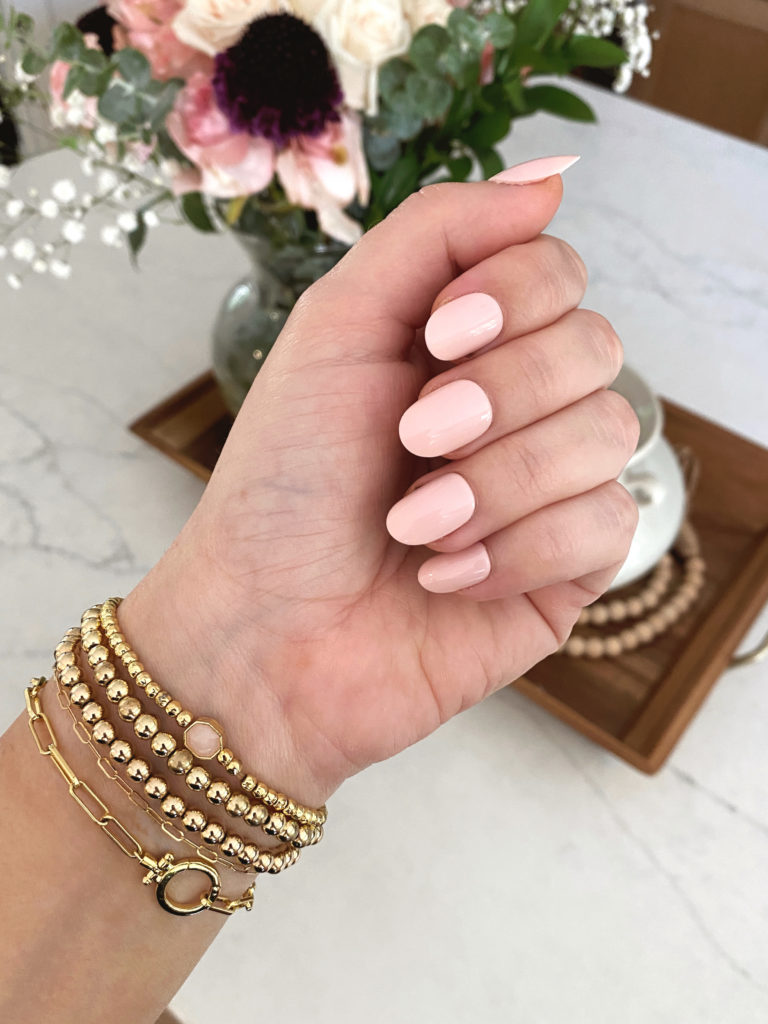
Final thoughts: I’m a glue-on nail convert
If you like the appearance of manicured nails but don’t want to spend a ton or have to go to the salon regularly you will LOVE Static Nails. They have such a large variety of colors and styles and they really make it so easy to do your nails yourself! If you want to try them for yourself I have a $5 off coupon with this link.
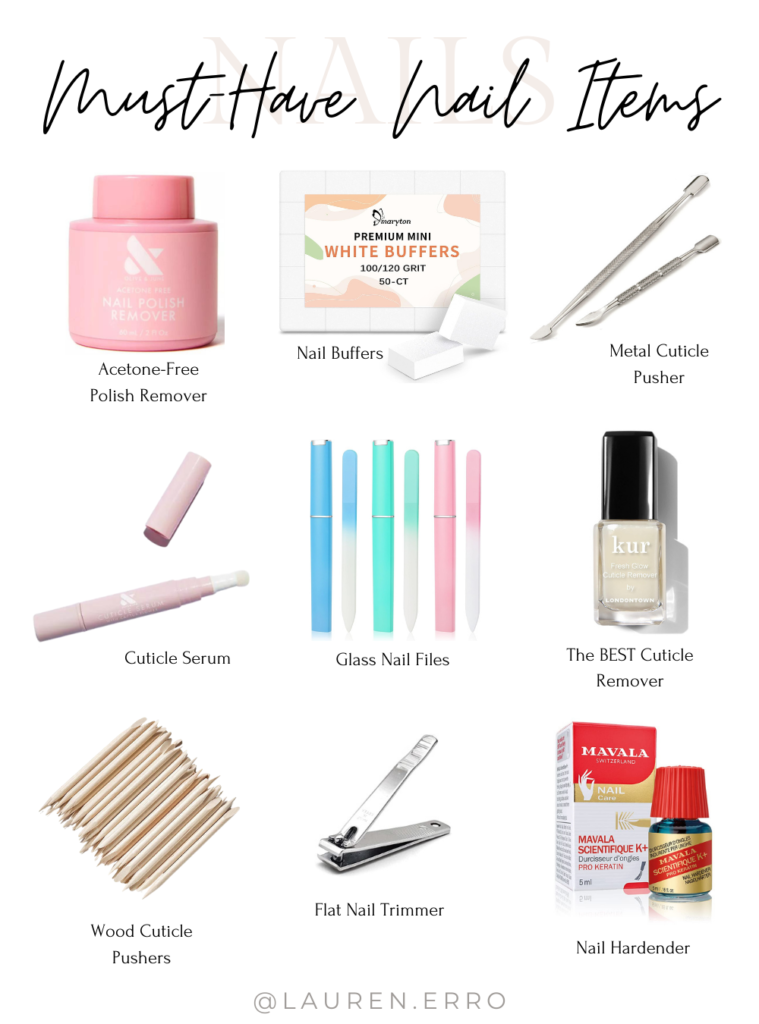
Must-Have Nail Items
Here are the tools and products that I swear by to keep my nails healthy and in great shape. I like to do my own manicures at home, and these products do the trick to make my manicures last! Click the picture for the links!
Have you tried glue-on nails yet? Let me know in the comments! If you like nail reviews, check out my post where I compare OPI glue-ons to other brands. You can also check out this post to see if gel manicures are bad for your hands.
xx,
Lauren






To remove, you can purchase the nail remover. Makes the removal process so easy!
Hello, I’m just wondering how you get the glue off them once you remove them. Or even how you get the glue off your natural nail once they pop off. Thanks
Under Removing Static Nails, you have an error, which reads, “I love the fact that you need to go to the salon and have them removed…” Your blog is too good to not let you know. BTW, bought the nails thanks to your comprehensive review. ✌🏽
Thank you so much!! I appreciate this!
I loved this post! I’ve been curious about Static Nails and your detailed insights really helped clarify how they work. The pros and cons you highlighted are super useful for anyone considering making the switch to reusable manicures. Thanks for sharing your experience!