Everything you need to know about Lilac St. Lashes
DIY long-wearing lash companies like Lilac St. Lashes have completely changed the beauty industry. Whether you want lashes for a fun weekend trip, or you want to wear them continuously to replace your lash extensions, you’re going to love these lashes! I’ve tried many of the brands out there and after a lot of trial and error, I can say that Lilac. St. Lashes are my favorite. In this post, I’m going to tell you everything you need to know about Lilac. St. Lashes.
*I have a discount code for 10% off Lilac St. Lashes if you want to try them: LAUREN10
If you prefer video format I have my full review in this video below- and I also have a playlist dedicated to lashes on my YouTube- subscribe to my channel for all of the latest updates in the beauty industry!
This site contains affiliate links, view the disclosure for more information.
Let’s chat about all of the types of fake lashes
If you’ve tried all of the traditional methods then I’m sure you have an opinion on each style. Here are my thoughts on them.
I’ve always struggled with lash strips. I find them hard to apply, and hard to keep on. They lifted on my wedding day and I’ll never forget LOL. Since then I have found some brands and glues that work much better BUT they’re still not my favorite.
Individual lashes are my go-to for a night out. I find them to be much easier to apply than a full strip- I know they seem daunting but they really aren’t! I like the Ardell clusters and find that they work well with the Duo or Velour glues. The Velour glue is great because you brush it on like eyeliner then just place the lashes on top. It’s so easy! Also, if an individual lash happens to fall off it doesn’t ruin your entire look, unlike strip lashes.
Lash extensions are beautiful but I don’t love the cost or the upkeep. I’ve had them twice and because I have so many lashes it would take 3 HOURS to apply a full set. I just don’t have the patience for that, nor do I want to spend that much money on my lashes every few weeks.
When I discovered DIY long-wearing lashes I had to try! I tested Lashify first (yes, I spent $145 on the starter kit- yikes). Since then new brands have popped up like Kiss’s Falscara, Flutter Habit, Moitie (stay away from these!), and Eyelure. And of course, Lilac St. Lashes, who in my opinion is the best.
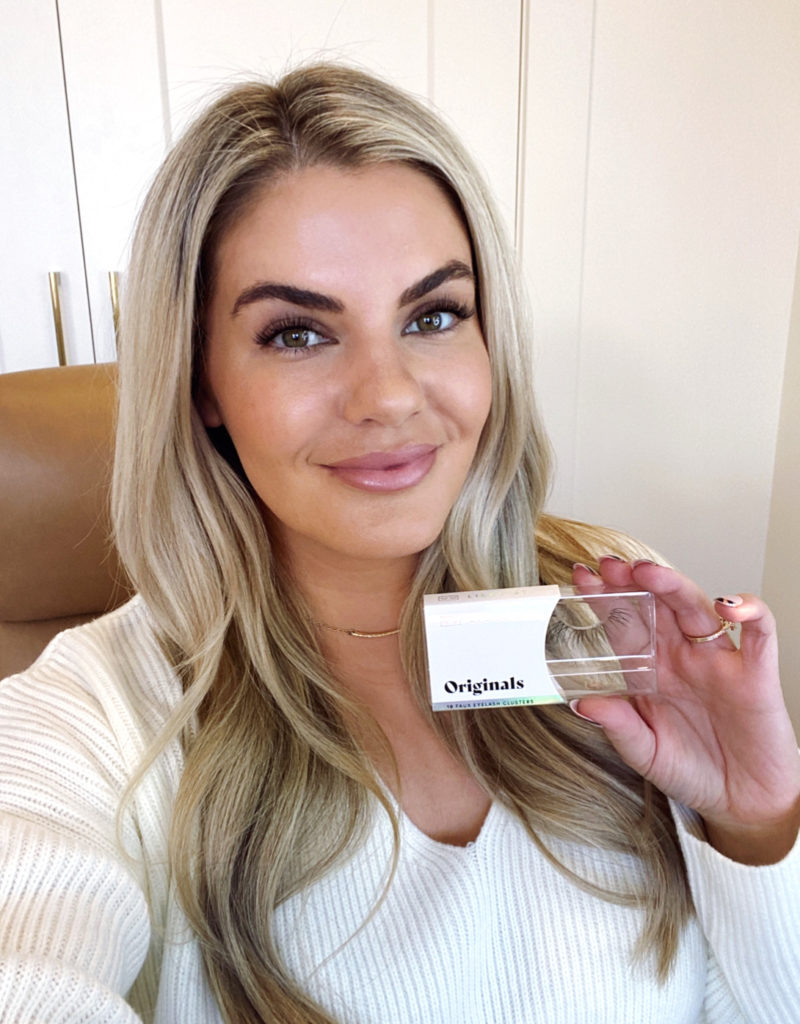
About Lilac St. long-wearing lashes
Lilac St. lashes are placed under your lash line and glued up to the base of your lashes. They are very comfortable and can look and feel really natural! I find that they are actually easier to apply than typical lashes and they last for up to a week! They also feel better on my eyes. If I’m going on a trip and want easy- ready to go- makeup, or if I know I’m going to have a busy few days where I need to look put together FAST then these are ideal.
What Products Does Lilac St. Offer?
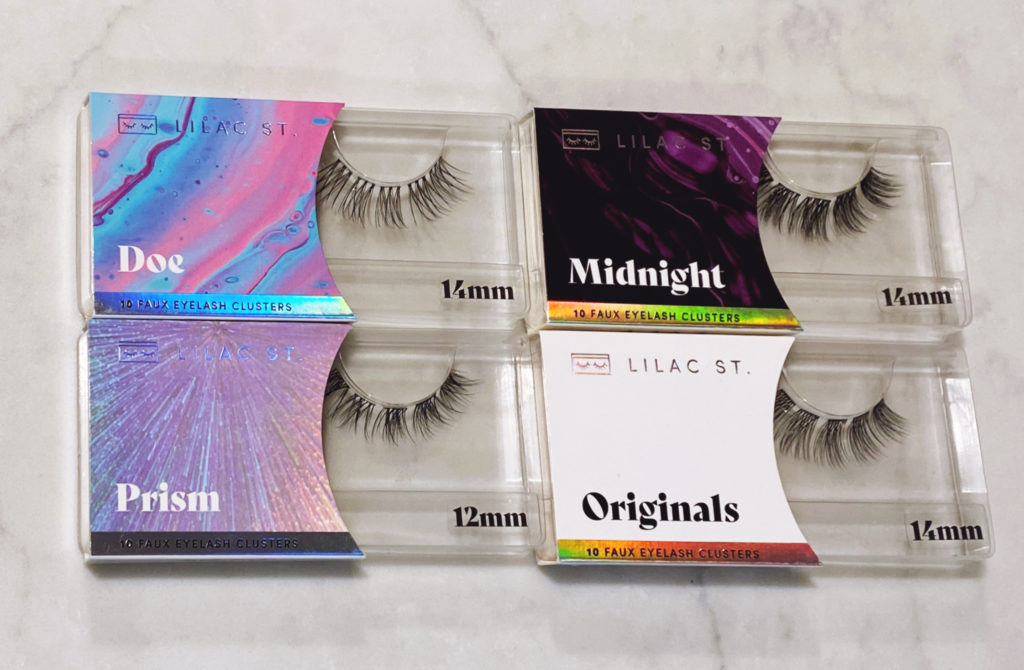
10 Lash Styles
Lilac St. Lashes now has 10 lash styles! My favorite styles are Original, Prism, Doe & Midnight but I love how many options there are! They’re made from Korean Silk lash fibers and are also vegan & cruelty-free. Each set is $7 and comes with 10 clusters- 5 for each eye.
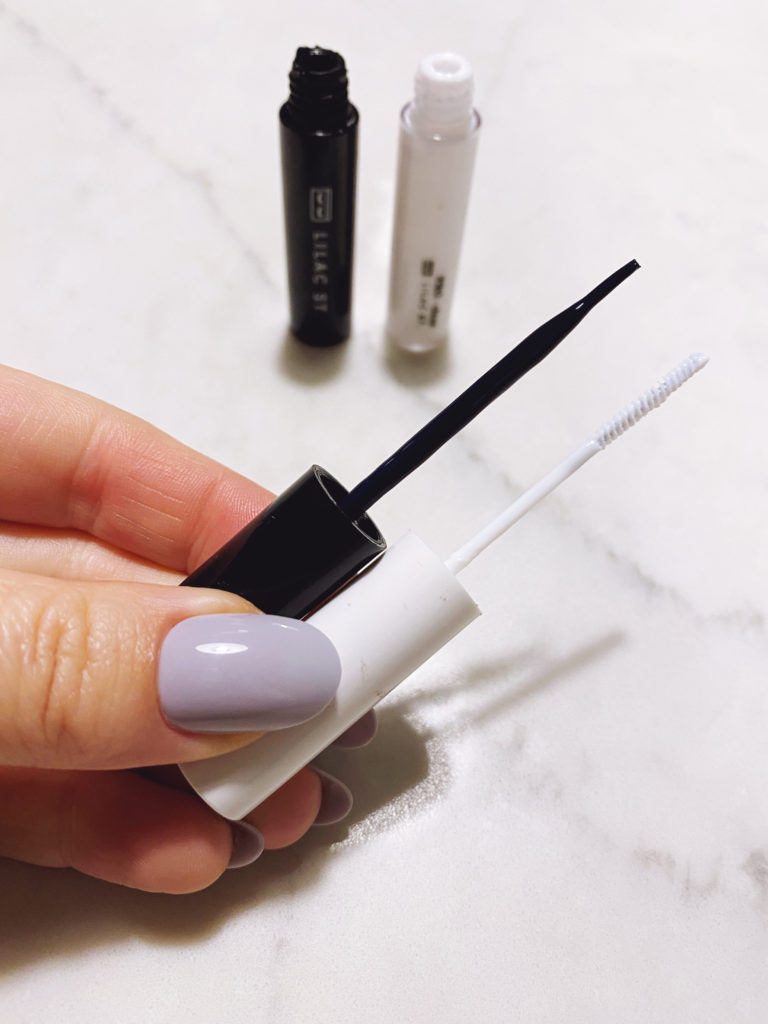
Lilac St. Glue Options
The Lilac St. DIY lash glue ($10) and the Pro lash glue ($15) come in black or clear. The DIY glue has a brush on the applicator vs. the Pro’s mini mascara applicator. The Pro is best for those who want their lashes to last as long as possible. If you have blonde lashes I suggest you get the black Pro glue and brush it on your entire lash.
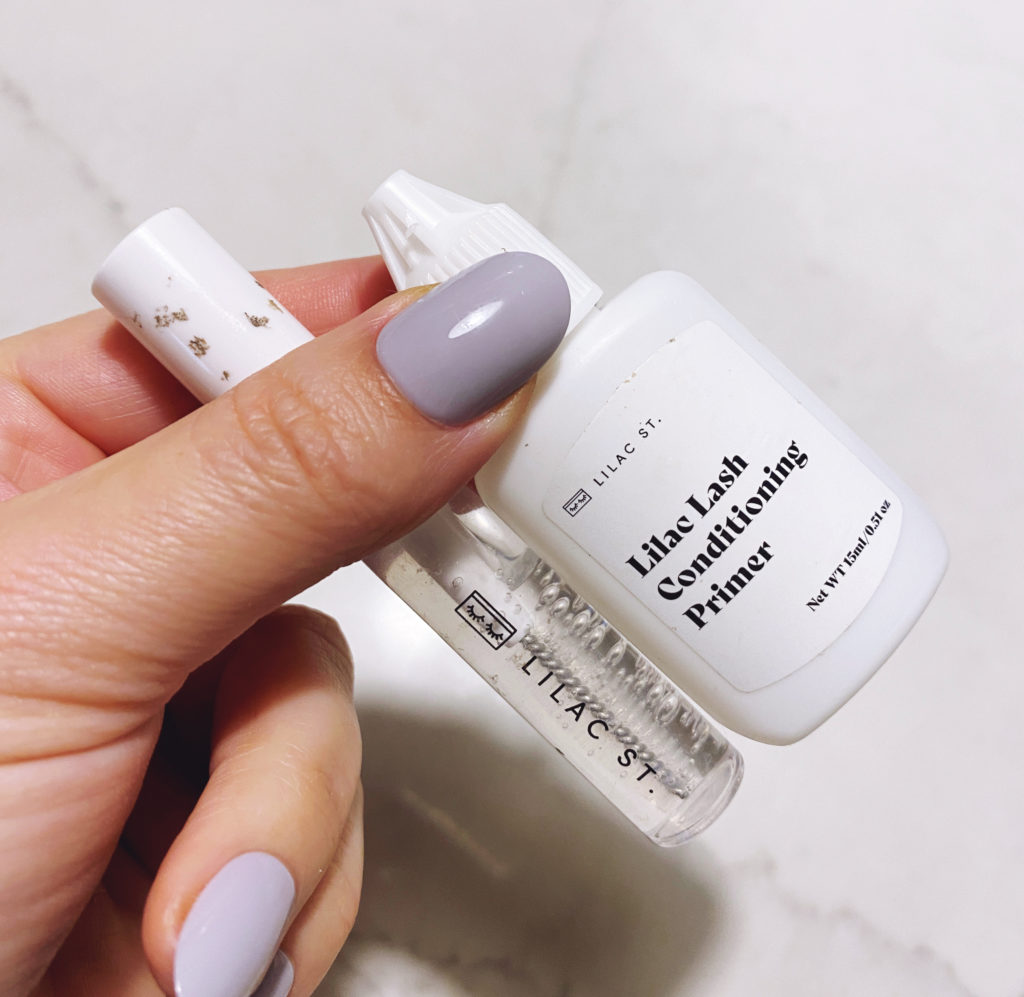
Lilac Lash Conditioning Primer
Their $15 primer is made to remove stubborn proteins that interfere with glue adhesion and maximize your wear time. It also nourishes and conditions your lashes with aloe, Centella, tea tree leaf, and witch hazel extracts.
Lilac Lash Crystal Coat
This sealant helps to reduce stickiness, keep lashes clean and extend lash wear. If you’ve ever applied lashes like this before you probably know that they can be a bit sticky. The $12 Crystal Coat is a MUST In my opinion.
Lilac St. Lash Bath Kit
If you’ve had extensions you know that they can get dirty and many face washes/ cleansers are off-limits because they can cause the fake lashes to fall off. The Lilac St. Lash Bath Kit helps keep your lashes clean and fluffy without risking taking the lashes off. It has a super soft makeup-removing towel that just needs water to work. The kit also includes the lash cleanser/ makeup removing foam, and a dual-sided brush with a mascara-type spoolie on one end to brush through the lashes and a soft brush on the other to clean your lashes and eyelids.
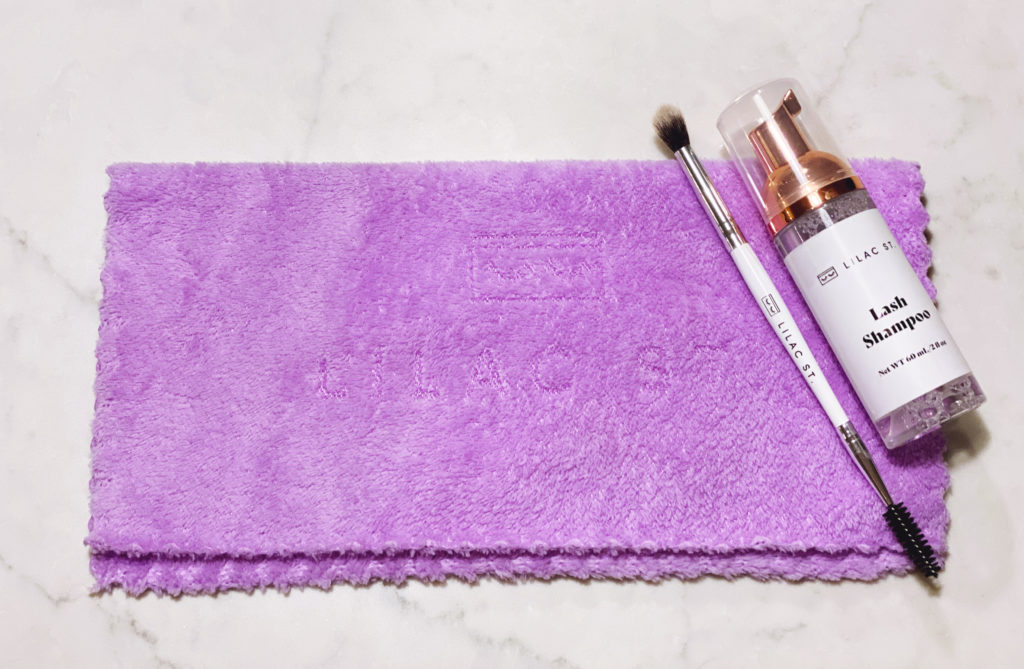
Lilac St. Ciao For Now Lash Remover
The Lilac St. Ciao For Now Lash Remover is to help you remove your lashes without damaging your own. It contains nourishing oils and collagen extract to help keep your natural lashes healthy while gently removing your lash segments. This $15 remover comes with a dual-sided applicator to help loosen the glue and comb the excess glue from your natural lashes.
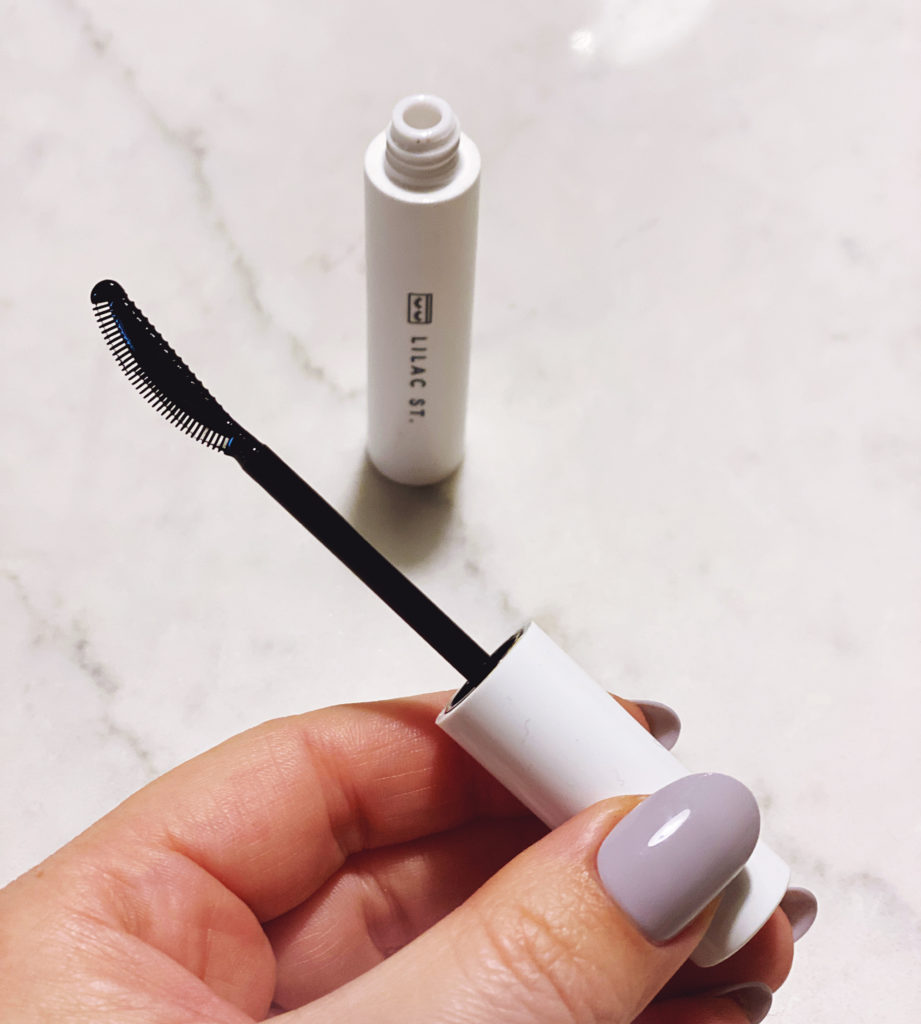
The Lilac St. Deluxe Starter Kit
If you want to try Lilac St. I highly recommend you start with their $65 Deluxe Starter/ Travel Kit. It has everything you need for the full Lilac St. experience. *the code LAURENERRO10 gets you 10% off!
- Your choice of 3 sets of lashes- any length or style- that’s 30 lash segments!
- Your choice of either the clear or black PRO Lash Glue
- Conditioning Primer
- Crystal Coat
- Ciao for Now Lash Remover
- Applicator wand
- Travel Case
- Its a $102 value of products when sold separately (!)
There is the $25 starter kit too that comes with 2 sets of lashes in lengths 10mm and 12mm, the DIY glue, and an applicator. But in my opinion, you’ll get a more complete experience with the Deluxe Starter Kit – it’s literally everything you’ll need and it gives you 3 sets of lashes to really get the application down and form a full opinion about Lilac St. Lashes.
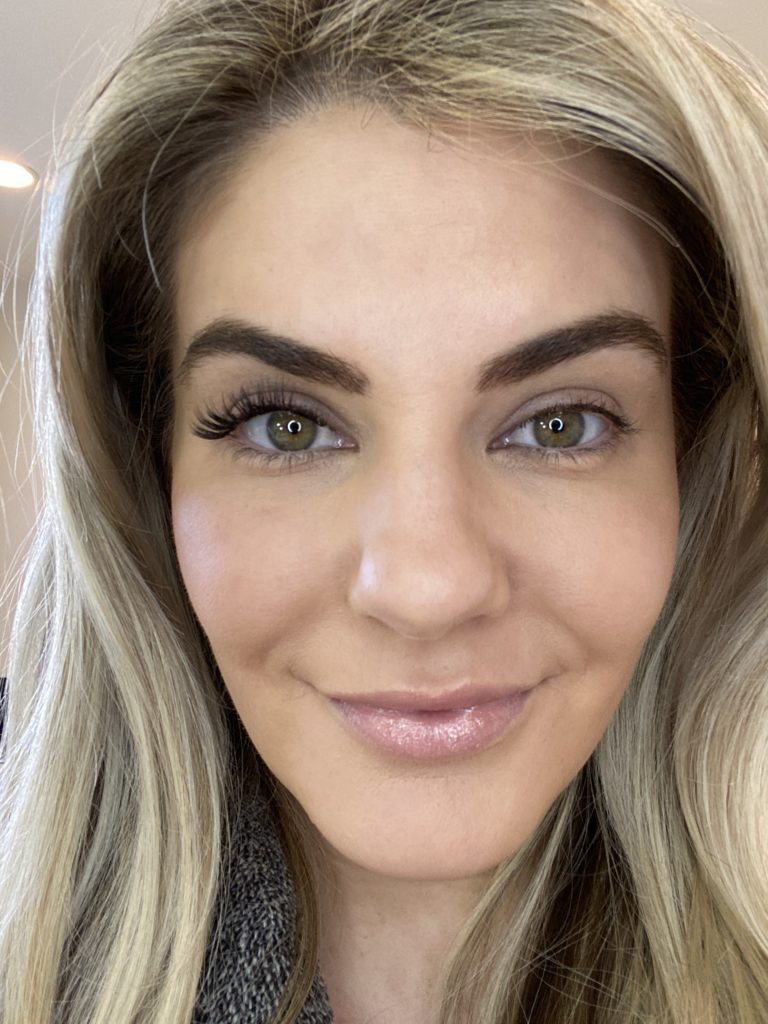
How to Apply Lilac St. Lashes
I have a tutorial in the video I posted above- starting at 6:45 if you want to follow along with me.
- Start with clean lashes. I like to do them before I apply any makeup. This is when you would use the Lilac Lash Conditioning Primer if you have it. You simply soak a cotton pad with the primer and gently brush on lashes. Allow to fully dry before applying glue.
- If you have straight lashes curl your lashes first. This is the best lash curler I’ve ever used!
- Apply the glue to your lashes along the base – not on the skin or what is called the “water line”- just on your lashes. You can experiment with applying to the full lash or just keeping it at the base. *I recently tried applying glue on my whole lash and it worked very well!
- Apply glue to the top of the base of the lash segment.
- Let dry for up to 15 seconds
- Starting on the outer corner of your eye apply the lash cluster and press it up onto your lash hold in place for a few seconds before releasing the applicator wand.
- As you move towards the inner corner with the lashes be sure to overlap the edges of the lash to prevent gaps and help them stay on better.
- When you’ve applied all of the lashes (I usually do four clusters per eye) use your thumb and pointer finger and squeeze them on your lashes to ensure they are bonded together.
- Apply the Clear Coat and move onto the next eye.

TROUBLESHOOTING
- If the lashes are sticking to your applicator then you probably have glue on it. Wash the glue off with an oil based makeup remover, Ciao for now, or the Crystal Coat and try again.
Nightly care to keep your Lilac St. lashes on as long as posible
Every night press your lashes between your finger and pointer finger before you wash your face.
When washing your face be sure to avoid getting soap near your eye area.
Use the Lash bath kit – Wet the towel and wipe off all makeup. Shake bottle. Apply a pump into the side of the cap. Dip your brush in the foam and gently swipe down the top and underside of your lashes. Dip the spoolie side to gently brush through your lashes. Grab the wet towel and wipe through your lashes and on your eyelids. Once dry, use spoolie to fluff your lashes.
Apply the Lash Crystal Coat nightly.
TO GET THE MOST MILEAGE
- Your lashes can last up to 5-7 days, so plan to change out your lashes in about a week. If they loosen earlier than that, you can re-apply lash clusters.
- Try to minimize rubbing against your pillow when sleeping. I highly recommend a sleeping mask like this one– it has space for your eye lashes so they don’t get squished.

How to remove your Lilac St. Lashes
To be honest, the lashes usually start to lift and I’m able to pull them off easily. I don’t recommend forcing them because that’s how you’ll pull your lashes out with them. I tested the Ciao For Now Lash Remover in the video above and it really is amazing how it gets ALL residue off of your lashes! All you have to do is apply the remover with the flat side of the applicator on the top and underside of your lashes. Allow it to sit for 20-30 seconds and lightly rub it into your lashes. Lightly pull on the lashes with your fingers to see if they’re ready to come off. They should easily slide down your lash. Once you’ve removed all of the lashes use the comb side of the applicator to remove any remaining glue. Simply brush it through your lashes and then use your face wash to get all of the oily residue off. *Rinse and wipe your Ciao For Now applicator before inserting it back in the tube and repeat on the other eye.
If you’re ready to try Lilac St. Lashes I have a discount code for 10% off! LAUREN10
If you want to boost your natural lashes I absolutely LOVE Lilash. Here’s a 20% off code LAURENERRO20 for them too! I also highly recommend these whitening eye drops. Whenever I apply any type of lashes my eyes turn red and these help a lot! They also feel very hydrating.
Have you tried long-wearing lashes yet? Let me know what you think in the comments below!
If you enjoyed this post subscribe to my email list to get updates from me once a month!
xx,
Lauren
Do you follow me on Amazon? I post all of my favorites on there & update them regularly! Check it out HERE!

2 Comments