Honest Review of the new Lilac St. Press On Nail Kit
I’m so excited to share that Lilac St. launched press on nails! I’ve been wearing Lilac St. lashes for years and have a few in-depth reviews of them if you’re interested. Find them HERE. So when they told me they were launching nails I was so stoked! I’ve been wearing glue-on and press-on nails since 2019 and have tried many brands: Static Nails, Dashing Diva, Kiss, Olive & June, OPI, to name a few… I definitely have some I like more than others, and I’ve learned the best tips and tricks to get them to last the longest, which I’ll share in this post. Keep reading to see my full review of Lilac St. Press On Nail Kit. If you want a discount at Lilac St., use my code LAUREN10!
This site contains affiliate links, view the disclosure for more information.
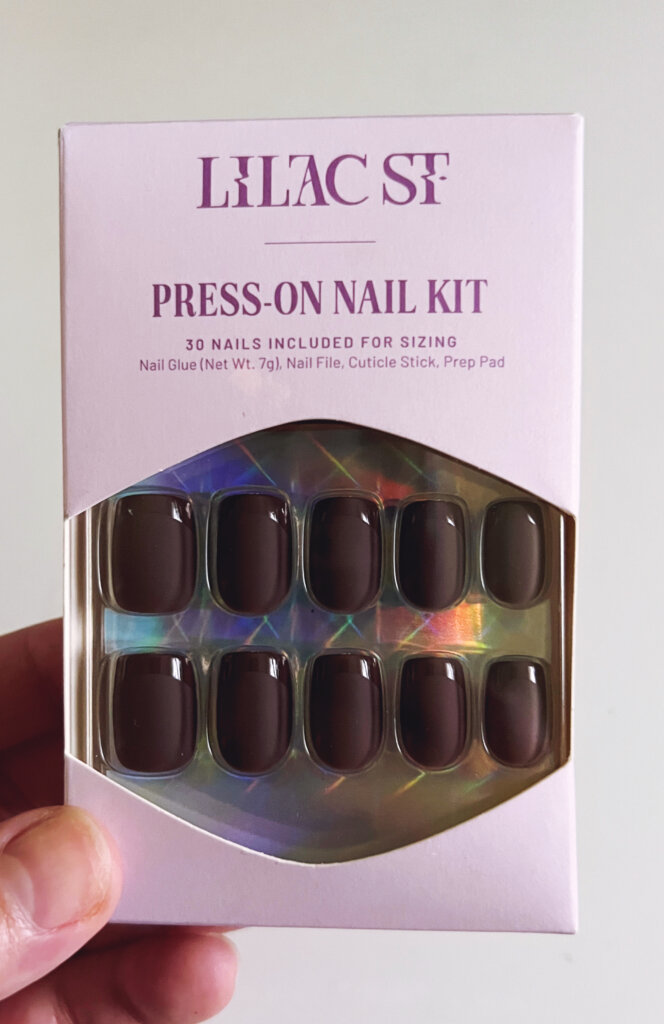
The kit is $16 as of its launch in October 2024. They have 5 sets so far and said they’ll come out with more soon. Here are a few of their options.

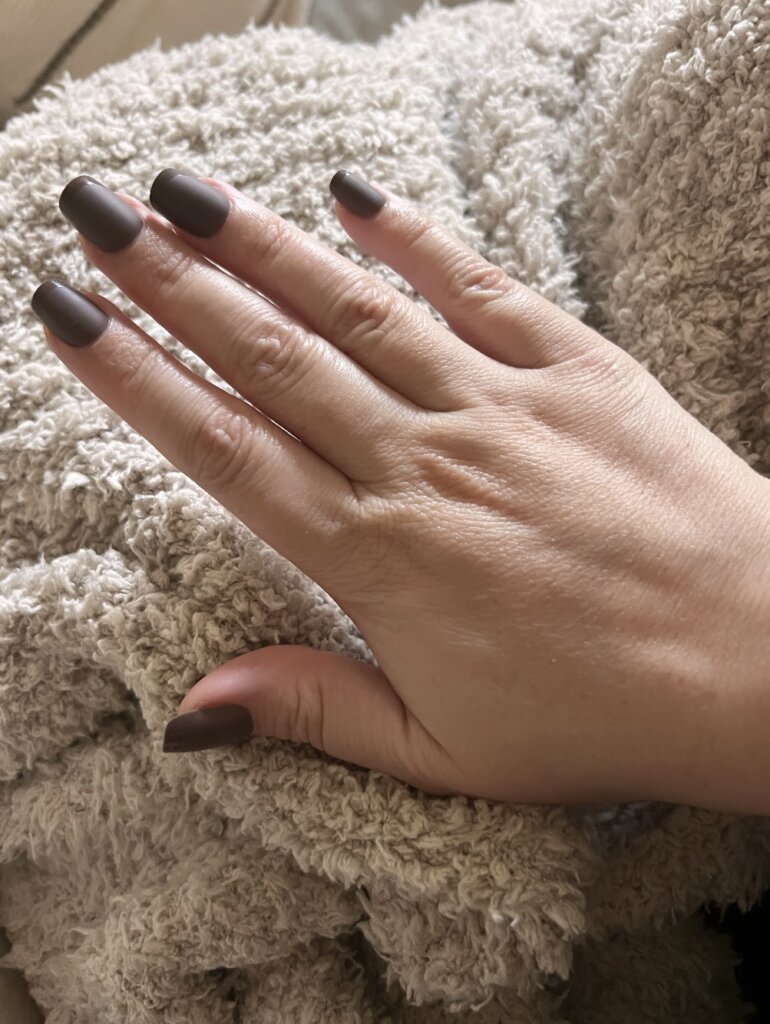
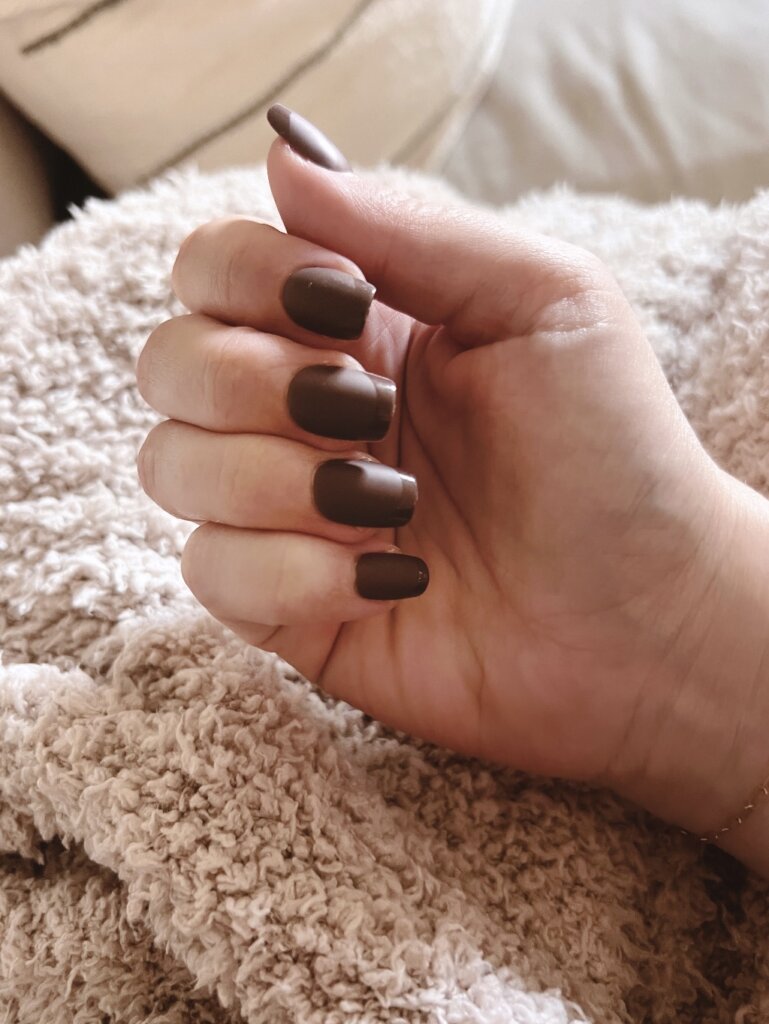
I set I tested is called “Semi- Sweet”. It’s a short, square, matte brown nail with a glossy french tip.
What comes in the Lilac St. Press On Nail Kit
● 30 nails in 15 sizes to find your perfect fit- you could probably get two sets out of a kit.
● Brush-On Nail Glue- I’ve never seen them come with this! Usually, they sell this as an add-on
● Alcohol Prep Wipe
● Nail File
● Cuticle Stick
How to prepare your nails for the longest-lasting DIY manicure
1. A short natural nail is best for longevity. Trim and file your natural nails close to the tip of your finger or to your comfort-level before applying press-on.
Begin with clean, dry hands. Use the cuticle stick to gently push back your cuticles, ensuring no skin remains between the nail plate and press-on.
2. File the entire surface of your natural nails just enough to remove the shine. An etched surface is ideal for nail adhesion.
3. Wipe each nail with the alcohol wipe to clean and dehydrate. Gently rub the inside of your press-on with a Q-tip soaked in acetone to etch the inner surface of the press-on. This double-etch technique combines natural nail prep with a lightly etched press-on surface to create a strong, long-lasting bond between nails.
4. Select your nail sizes and lay them out. Each nail should fully cover your natural nail without overhanging onto the skin or feeling tight.
5. Don’t be afraid to customize. Trim and file press-ons to your preferred shape and length.
How to apply Lilac St. Press On Nail Kit
1. Brush a thin layer of glue on your natural nails, getting as close to the skin as possible, but glue should not touch the skin. Brush a small drop of glue to the center of the press-on as well. This glue is SO EASY to apply! It dries quickly so the nail doesn’t slide around when you’re trying to get it to adhere.
TIP: Start with your pinkies and alternate hands, working your way to your thumbs for easier application.
2. Apply at a 45-degree angle from the base of your natural nail to the tip. Gently lay the nail down and push out any air bubbles. Press down gently and hold for 20-30 seconds. TIP: Remember to press the sides of the nails down, too. Using a rocking motion with your finger can make this easier. Use the alcohol wipe to remove any excess glue that reaches your skin.
For the longest wear:
-Avoid bumping nails and keep hands dry for 2 hours after application.
-Apply press-ons 1-2 hours before bed to allow your nails to set undisturbed throughout the night.
How Lilac St. recommends you remove their nails
1. Add equal parts oil and dish soap to a large bowl of warm-to-hot water, and submerge nails for 15-20 minutes to loosen the glue.
2. Use the cuticle stick to gently lift the nail edges. If the nails don’t pop off easily, soak again and repeat. Do not force removal to protect your natural nails.
3. After removing all nails, gently file off any remaining nail glue.
My final thoughts on the Lilac St. Press On Nail Kit
Wow, I’m impressed!! The nails lasted for 14 days and have barely lifted at all! I ended up taking off my pinky nail because it was feeling a little loose and it came off easily with minimal damage to my nail.
I’m very impressed that the nails haven’t bent or broken. I filed them down the day after I applied them because they were a bit long and I’m glad to say that it didn’t ruin the nail!
One interesting thing was I didn’t use the acetone/ q tip method on the thumbnails because I changed sizes at the last minute and they both came off on day 2 so definitely do the acetone method, it helps them last so much longer!
I don’t think I’ve ever had nails last this long without lifting!! I’m not counting the thumbnails because that was my bad, but I guess if I didn’t know of the q tip method all the nails would have come off sooner so I should mention that.
Overall these are some of the best glue on nails I’ve ever tried!
I hope you found this review helpful! If you want a discount use my code LAUREN10
Must-Have Nail Items
Here are the tools and products that I swear by to keep my nails healthy and in great shape. I like to do my own manicures at home, and these products do the trick to make my manicures last!
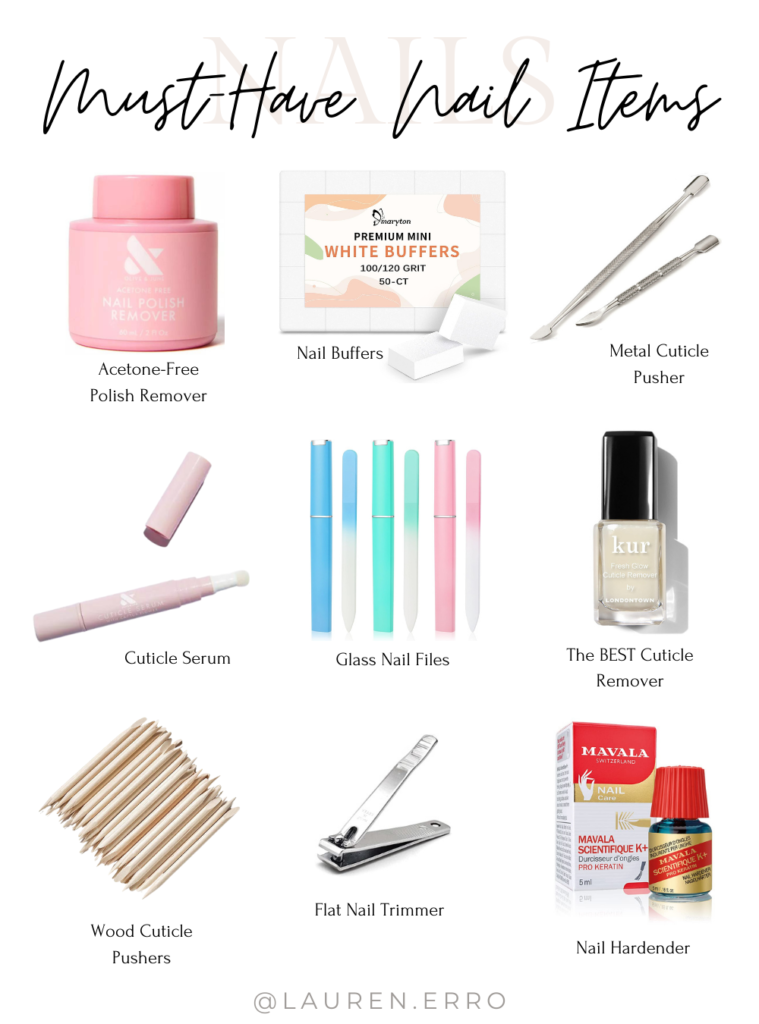
DIY Manicure Must Haves:
Whenever you do your own manicure I always recommend a few steps before you start.
1. Trim and file your nails. These nail files are THE BEST. They make your nails feel so smooth.
2. Clean up your cuticles. This cuticle remover is a little pricey but it works so incredibly well. I like to use these push sticks. *Never cut your cuticles it leads to hangnails and possibly infection.
3. Buff your nail plate to smooth the surface of your nails. This buffer is the best option.
4. Apply cuticle oil or serum as needed. I like to apply it before bed.
Bonus: If you have thin/ weak/ peely nails this nail hardener helps SO MUCH!
If you enjoyed this post you’ll love:
Dashing Diva Magic Press-On Nail Review
Review of Olive & June’s New Press on Nails- The Instant Mani
Everything You Need To Know About Static Nails Reusable Pop-On Manicures
xo,
Lauren
Do you follow me on Amazon? I post all of my favorites on there & update them regularly! Check it out HERE!


